What is Papel Picado and How To Make It at Home
The short of it; Paper Picado is a traditional Mexican decorative art, typically made from tissue paper using chisels or scissors. The artist cuts intricate designs considering both the positive and negative space.
This Folk Art is used to decorate spaces for religious or national celebrations, festivals and important family events like birthdays, weddings and anniversaries.
Motifs can be specific to the celebration of religious and folkloric figures, floral shapes or geometric shapes. The panels are then attached to a string or ribbon to be hung across the room, hung up on walls or laid out on tables or altars.
Modern commercial versions of the papel picado used to decorate streets, restaurants or tourist areas can be mass produced by machine and made from thin plastic sheets or vinyl to withstand the elements.
How to make Papel Picado:
Now that you know what it is, below is a step by step of how to make it yourself at home for your special event. In this article we’ll cover two ways:
- Using a craft knife and craft paper
- Using scissors and tissue paper
Before you start, outline your project- decide on the size and end use and design. Which technique you’re going to try and also think about how much time you’d like to spend on the project! Busy and intricate motifs take longer than larger shapes.

Craft Knife & Craft Paper Method
The benefits of making the papel picado decoration out of craft paper is that it’s less fragile than tissue paper so it will last longer and can be stored and reused for other celebrations.
Materials you’ll need:
- Craft paper in your choice of colors
- Craft knife
- Pencil
- Ruler
- Cutting mat
- Ribbon or string
Step One: On a sheet of craft paper draw the motifs light in pencil. Mark the areas you want to cut away. Alternatively, you can design the motif digitally and print it on your paper

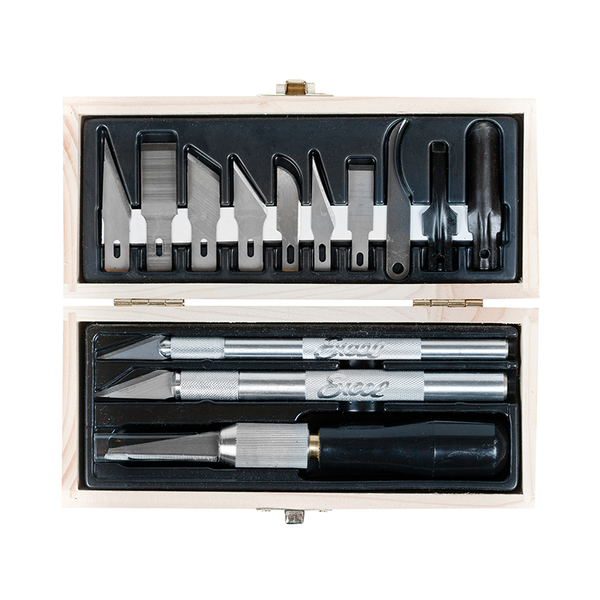
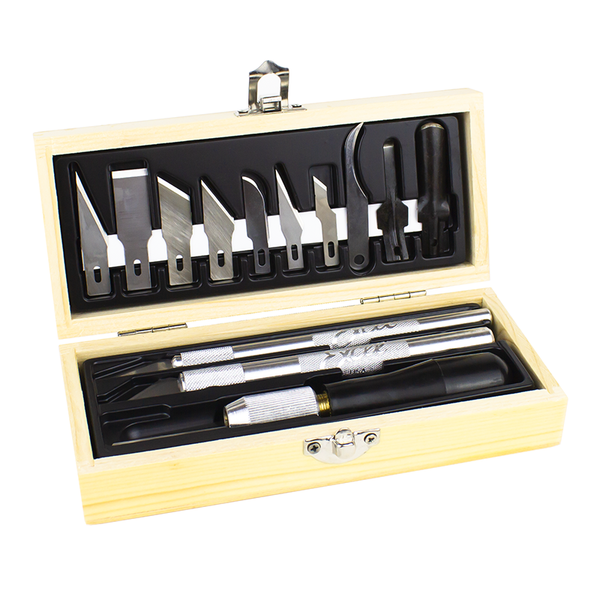
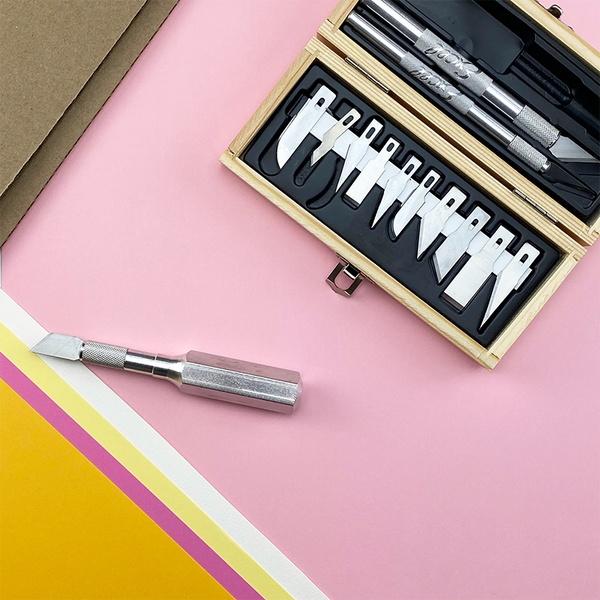
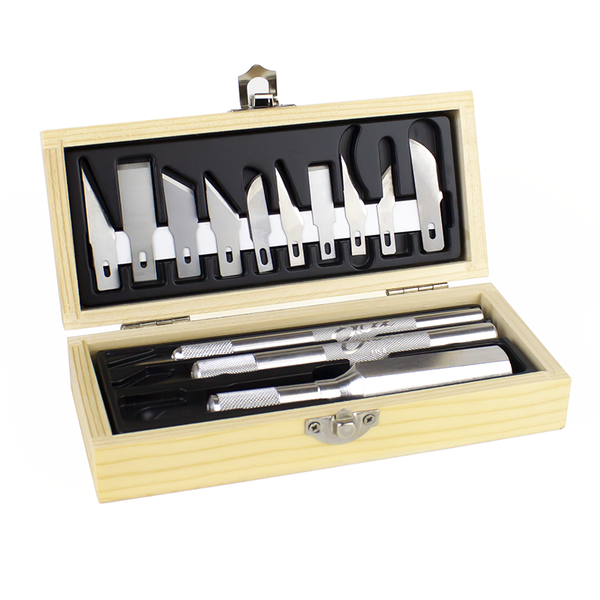
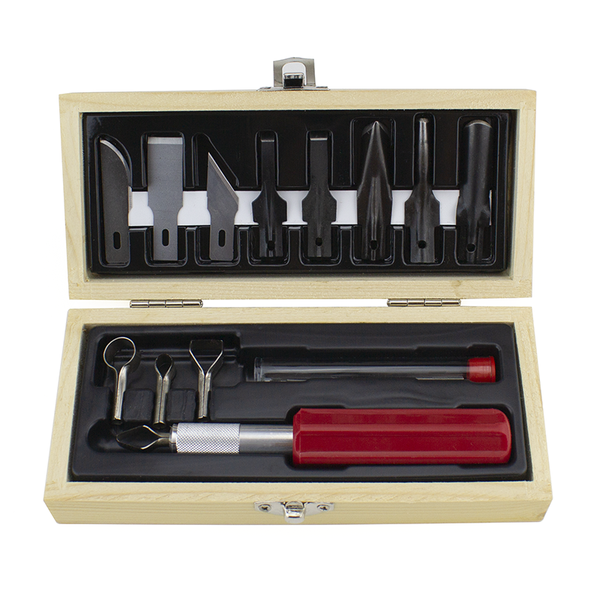
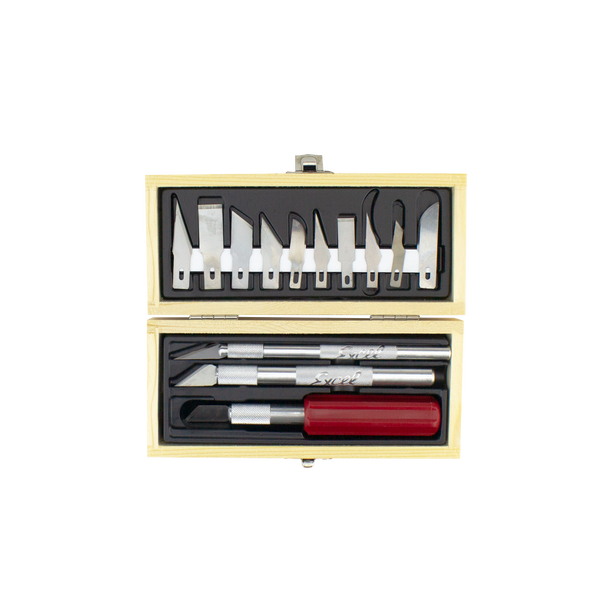
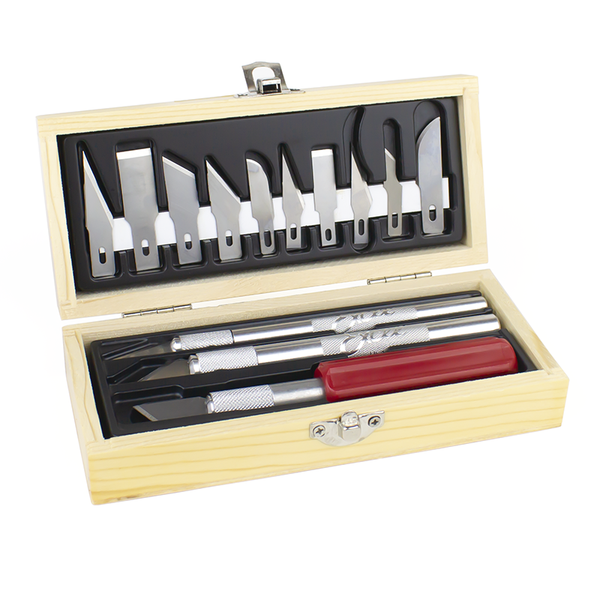
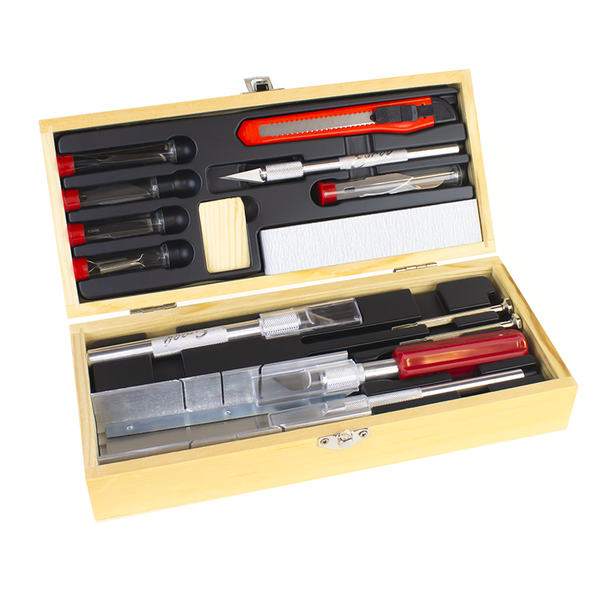
Step Two: On a cutting mat, using a craft knife, cut out the design along the pencil lines. Use a ruler to cut lines straight. There are many craft knives to choose from including ones that have a soft handle like our K26 Fit-Grip - it's great for longer projects due to its soft rubberized casing.
Step Three: In both top corners, cut a slit for the string or ribbon.
Step Four: Repeat until you have the desired amount of papel picado. Thread each one on the string or ribbon, space out evenly and hang up.
Tissue Paper and Scissor Method
This papel picado is more like the traditional one. It is delicate and airy. Tissue paper is fragile and tears easily, this method may require a learning curve and some patience. However, you can cut several layers of tissue at the same time.
Materials you will need:
- Tissue paper in your choice of color and size
- Scissors
- Pencil
- String or ribbon
- Transparent tape
Step One: Fold the tissue paper in half or in fours, depending on your design. You can opt to fold into quadrants or in parallel folds. Each type of fold will have different results.
Step Two: In pencil, lightly draw the design on the tissue paper.
Step Three: Carefully cut out along the pencil lines. Try different types of scissors to see which one works best for your motifs. The Lexan Curved Scissors is great for cutting rounded shapes. The cutting edge of this precision tool is curved and short giving you the ability to maneuver and neatly cut the shapes out.
Step Four: Unfold and smooth out any folds and wrinkles.
Step Five: Use transparent tape to reinforce the top corners of each papel picado. Then cut a slit for the string or ribbon and thread one at a time. Hang up and admire your work!