How to Make a Helmet for Cosplay
Source: Serhii Shcherbyna/shutterstock.com
Cosplay helmets can get very elaborate and take a lot of time to make. Due to their general shape, these cosplay accessories are probably the most difficult to make. But fear not.. in this article, we’re going to show you a technique along with some tips and tricks to create a helmet that can later be customized with craft tools for your character.
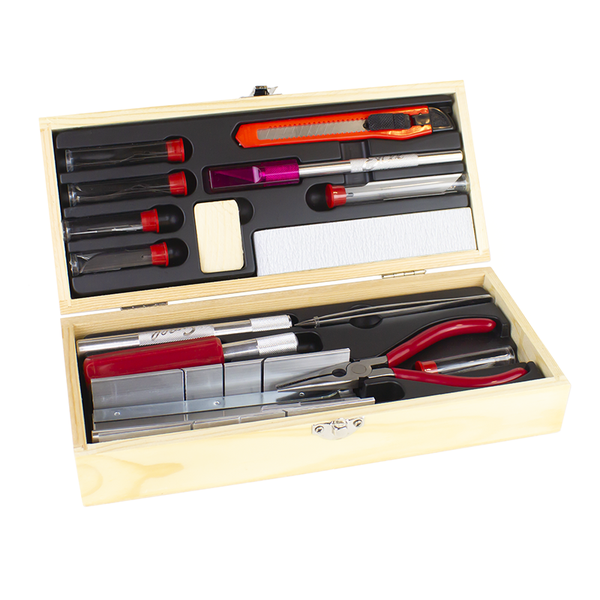
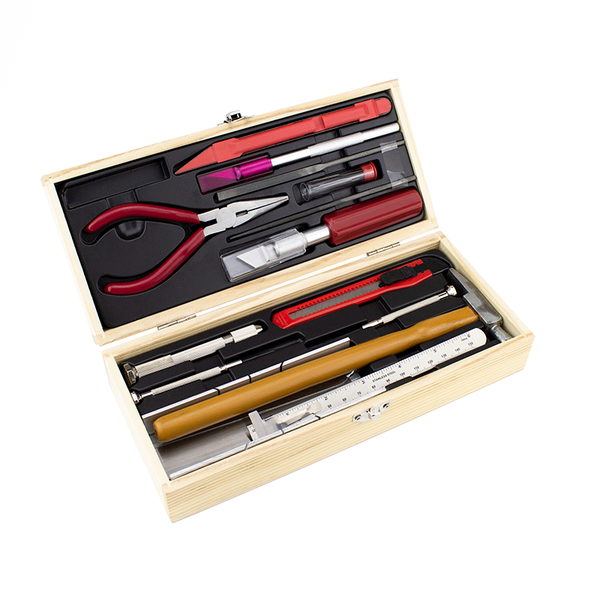
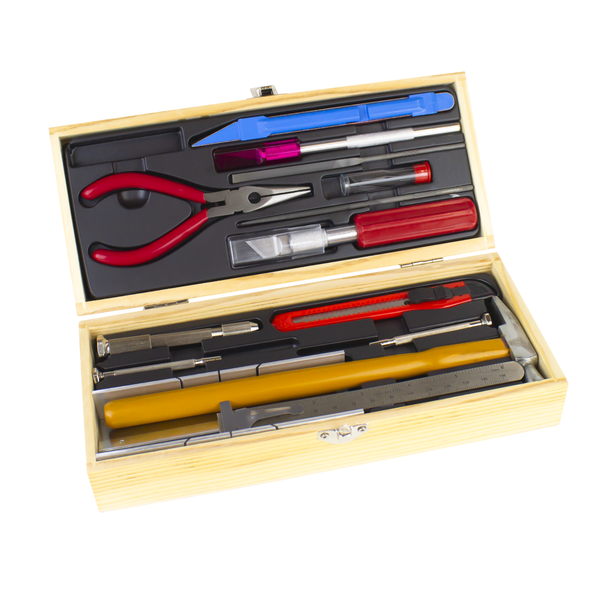
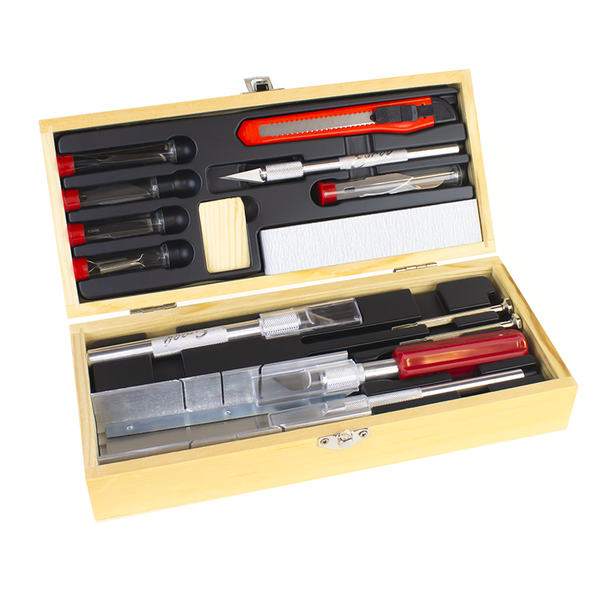
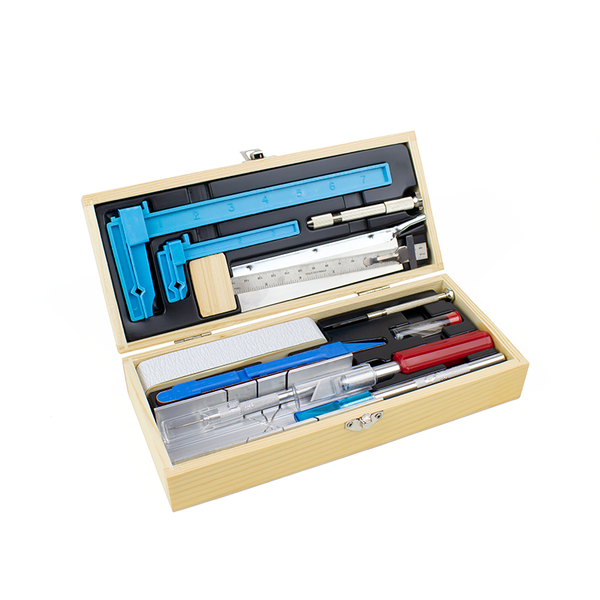
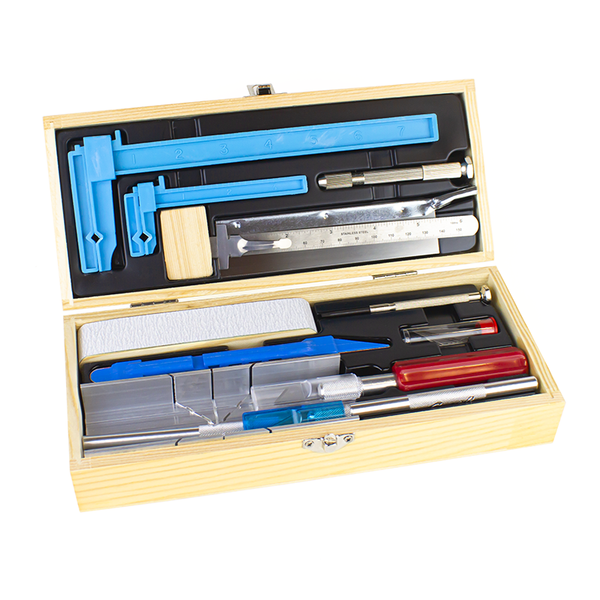
You’ll need a few cosplay tools before you start this project.
- Styrofoam head mannequin - These are available at most craft stores or art supply stores, measure your head and the head form and select one that is larger than your measurement.
- Cellophane wrap - you probably already have this in your kitchen
- Masking tape - 1” or 1.5” wide
- Felt or batting - optional, use this to increase the head size for a bigger helmet
- EVA foam - thickness and color of your choice
- Glue - use a glue that’s recommended for the EVA foam you choose
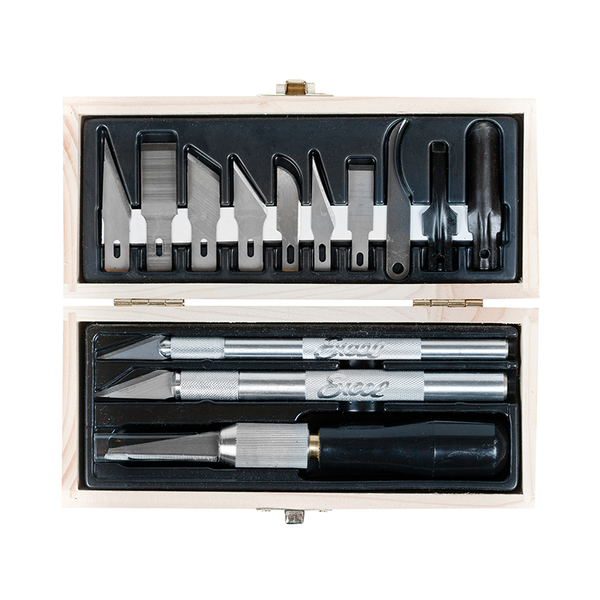
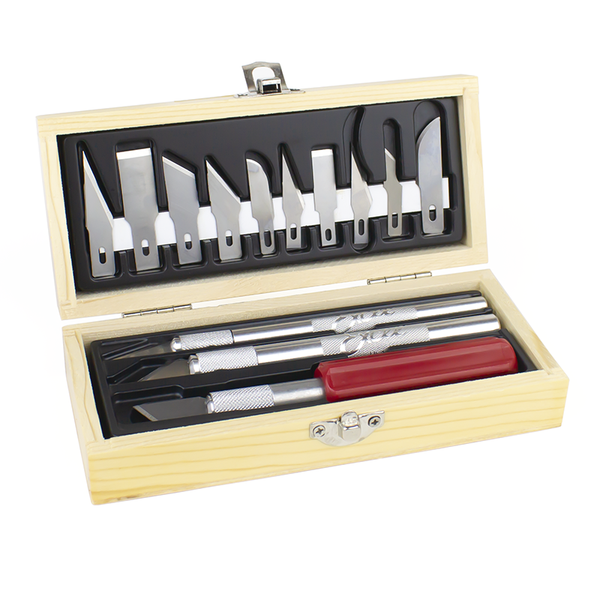
- Sharp utility knife - always start with a fresh, sharp blade
- Pencil
- Cutting mat - use a large size one to cut and work on
- Scissors
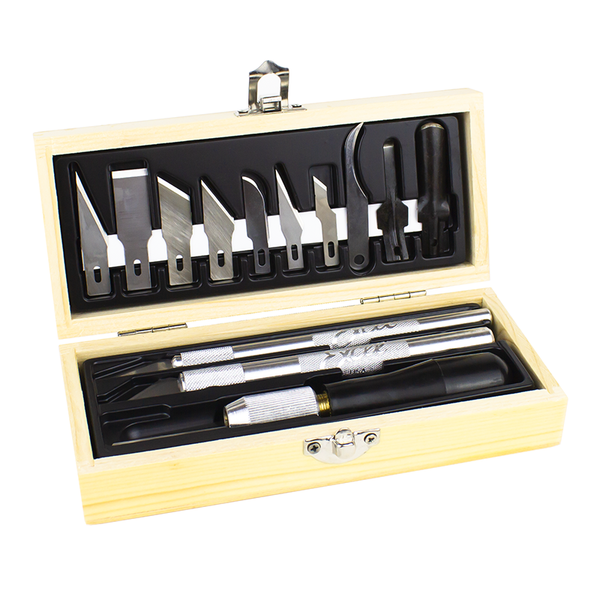
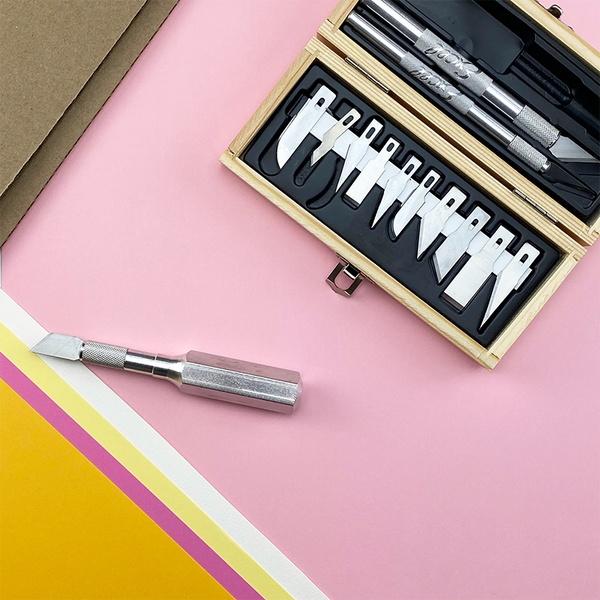
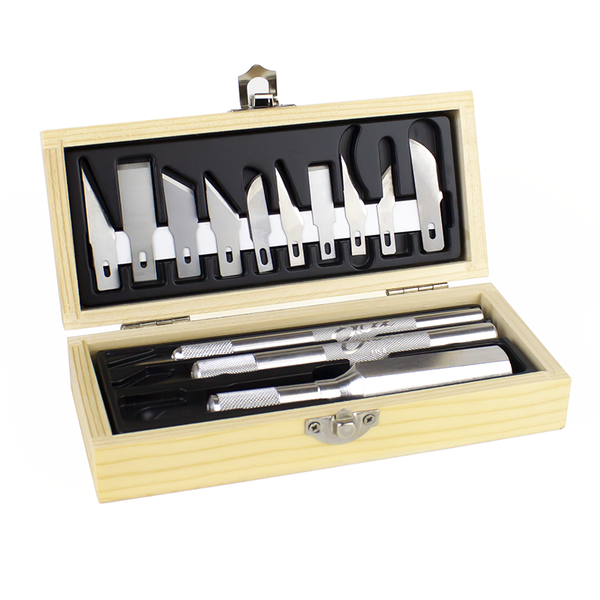
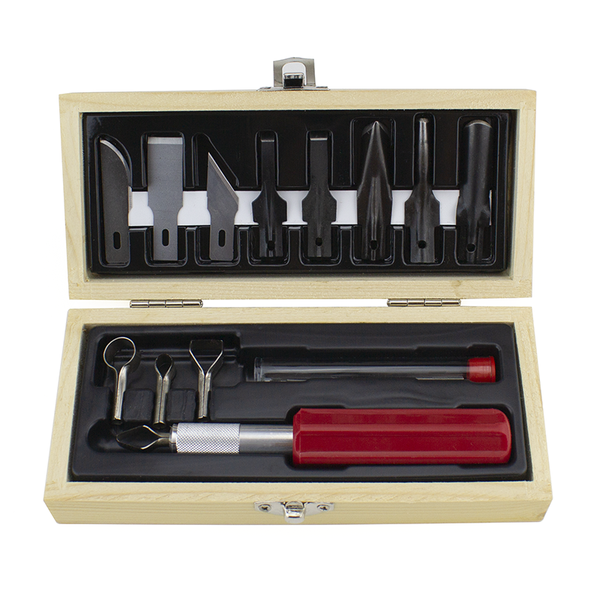
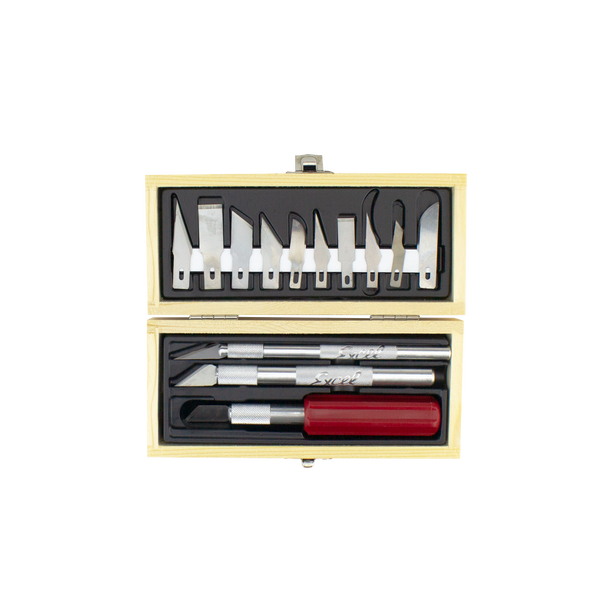
- Hobby knife
- Pounce Wheel - Use the large size, 6.4mm
- Craft paper on a roll or pattern paper
Making a Helmet Pattern: First, we’ll go over how to make a cosplay helmet pattern using plastic wrap and masking tape.

Step One:
Wrap the entire head of the mannequin with a few layers of plastic wrap. Add felt pieces as padding to increase the head size so that the helmet is not snug. This is a base layer on which the helmet pattern will be built on.
Then work from the center top towards one side first and cover with masking tape. Overlap the tape half an inch if using 1” wide masking tape and .75” if you are using the 1.5” width. Smooth out each piece, it’s okay if there are small wrinkles and bumps. Cut away any large bumps or imperfections that can alter the shape of the helmet.
Tips & Tricks: Precut the tape into strips approximately 12” pieces. When applying over very curved areas of the mannequin form, notch the tape and fold over at angles to cover the curve more smoothly.
Cover with tape down to the lower part of the ear. Cover the other side if you’re a beginner, this extra work here can pay off later when designing the helmet cutouts.

Step Two:
Using a pencil, mark the centerline of the head, starting at the nose bridge and working your way to the back of the head. Then sketch the approximate face opening, mark where the ears are and draw a horizontal line at the base of the neck connecting it to the face opening lines.
At this point, you should have a rough outline of the helmet drawn on the masking tape.

Step Three:
Now for the tricky part… work on one side only. You’re going to draw the pattern lines of the helmet. The tricky part is subdividing the outline in such a way that the flat EVA foam pieces will create a helmet shape when joined and glued together. As a general rule of thumb, the more facets the rounder the shape will be. But no need to go to excess. A good rule of thumb is to work in long and narrow panels from front to back to successfully create a pattern for the top of the head.
Even out and correct the outside edge lines, particularly the bottom edge of the helmet and the top of the face opening.
Tips & Tricks: Cut a 4”x2” piece of the EVA foam you purchased for this project and lay it over the helmet draft. Use it to mark where the foam starts to pucker and no longer lay flat. Use those marks as guides for the panels of the helmet structure.
Number the panels and mark using hash marks or letters on the cut line so you know which pieces are next to each other.
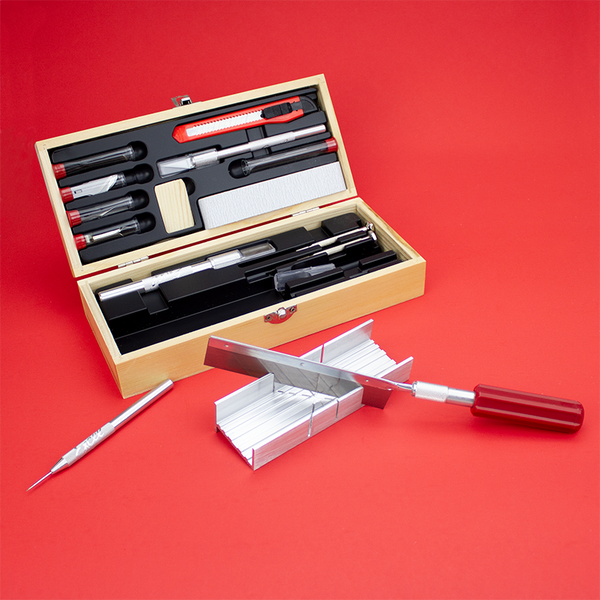
Use a High-Quality Hobby Knife to Create Your Cosplay HelmetStep Four:
Using a hobby knife, cut along the center line to cut the form into two halves. Remove the side on which you drew the panels. Don’t remove the other side and secure it with tape to the head form. Set aside.
Step Five:
Cut apart the panels along the lines using scissors. A curved Lexan scissor is a great tool for cutting curves and curved surfaces due to its short and bent cutting edge.
Step Six:
Lay each piece on the cutting mat, they should lay flat. If they do not cut them in half or readjust the pattern so that they do. If too many of your pattern pieces are too dome-shaped, grab that head form and redraw the lines to better fit.
Tool Tip: Using sharp tools on a cutting mat protects your tabletop surface and keeps your blades and tools from dulling quickly.
Step Seven:
Trace the flat masking tape panels onto pattern paper. Copy the number and hash marks of each pattern piece so that you don’t lose track of where the pieces go.
If there are any wonky trace lines, smooth those out with a pencil. Cut out of the paper. Don’t forget that this is only half so when cutting the pieces out of your final material you’re going to have to flip each piece and trace it again.
Voila! Your pattern is done!
Pro Tip: It is a good habit to name and date each pattern piece and also keep notes about fit, shape and general design. This way when using it in the future it’ll be easy to identify, recall any issues you ran into and use it again.

Assembling the Helmet:
Step One:
Layout all the helmet pattern pieces on the EVA foam and place the pieces to maximize the use of the foam. Using the pounce wheel, trace the paper pattern onto the EVA foam surface.
Tool Tip: Test the pounce wheel on a scrap piece of the foam to get a feel for how much pressure to use to clearly see the perforations.
Step Two:
Cut out the pieces with a utility knife. Flip the pattern over and cut out the other half. Use a hobby knife as needed for detailed cuts that require precision.
Tool Tip: Adjust the length of the snap blade to accommodate the thickness of the EVA foam you’re working with so that you cut through the foam in a single cut.
Step Three:
Cover your head form with plastic wrap and use the form as needed to glue the pieces of the cosplay helmet together. Start assembling the helmet - glue the two front center pieces first, let the glue set for a moment, then glue the next pieces together. Work in symmetry and let each piece set before adding the next one. Clean glue excess before it dries.

Step Four:
Once all the pieces of the helmet are assembled, let the glue set as directed on the glue packaging. Clean up any frays and imperfections. Use masking tape to hold the pieces in place and together while the glue dries. Fill any gaps in with glue and smooth out.
Yay! You now have a helmet base and you can move on to the next stage of the project and turn it into a finished character accessory. From here on you can build out the final shape by adding layers, length, height and details.