How To Make A Cute DIY Birthday Card - [Step By Step Guide]
How To Make A Cute DIY Birthday Card [Step by Step Guide]
Are you tired of spending time in the birthday card aisle only to spend a fortune and not get a card you truly want or love?
We have given up on buying birthday cards and started making our own! There is no need to buy a birthday card from a store when you can make your own at home with supplies you probably already have. Homemade birthday cards are not just unique, they are tokens of love. The effort that goes into making a cute and custom birthday card shows whoever receives it that you really thought about them when making a one-of-a-kind card.
Although presents are great, I LOVE getting a handmade card. Sometimes, I wind up keeping the card longer than the actual present I receive. Not only is it great to receive a homemade card, but they are also just as fun to make! Making homemade birthday cards is fun, easy, and gives you the freedom to use your imagination. It can also be a great stress reliever.
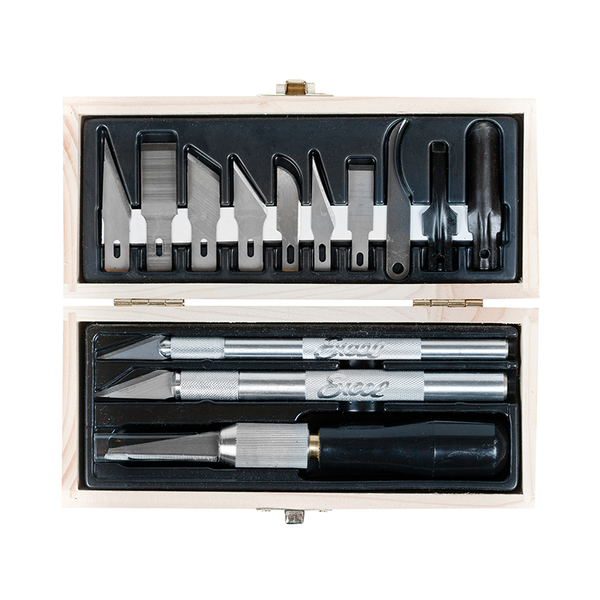
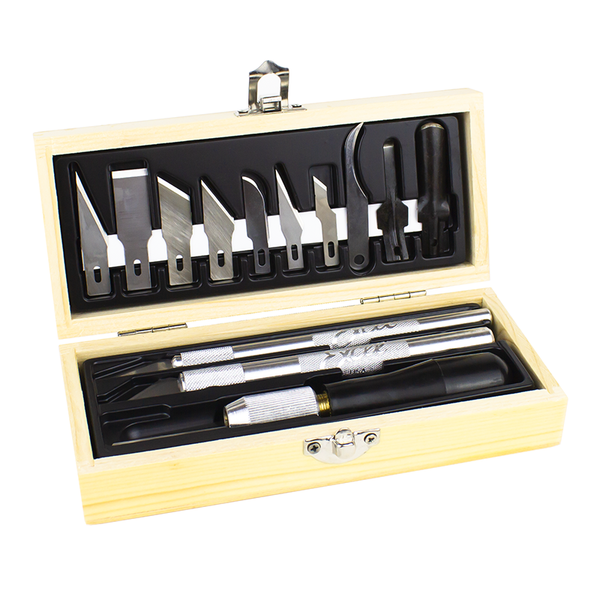
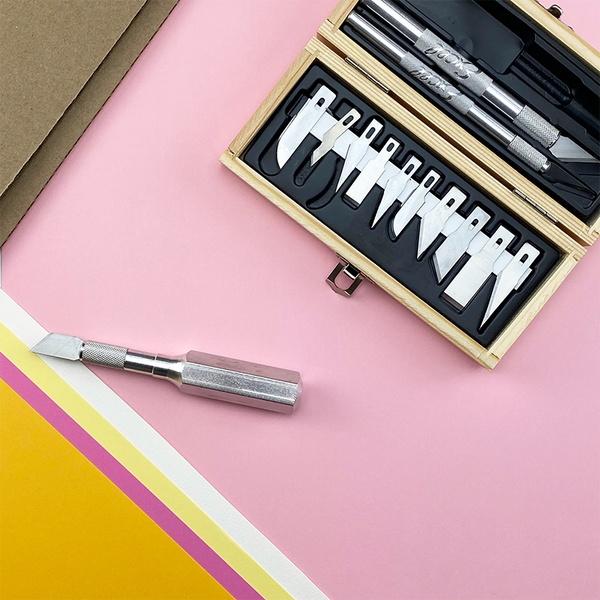
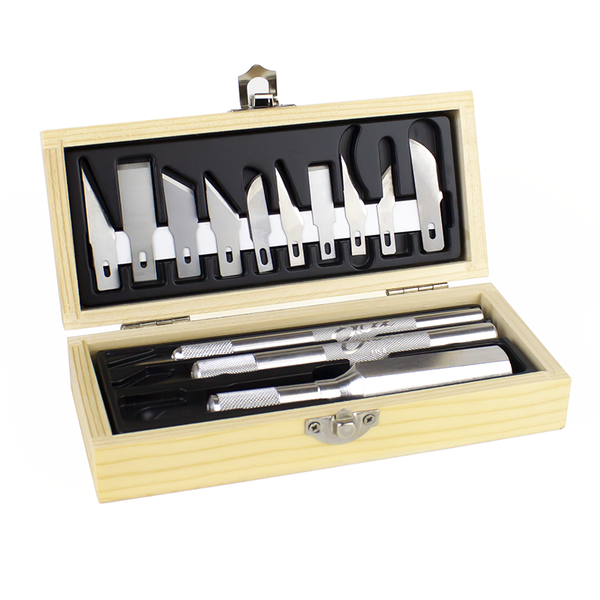
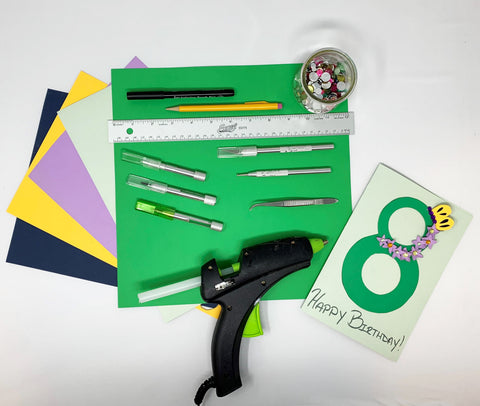
We started looking at different types of cards to get some inspiration on what kind of card we wanted to make. We searched for creative step by step tutorials for cute cards we can make at home. After looking at thousands of different DIY cards we came up with this cute handmade birthday card idea! All you need is some colored papers, Excel Blades yardstick compass, our K1 Light Duty Knife, our deluxe conversion ruler, our curved point tweezers a ball tip stylus (any size), beads or gems and glue. Today we are going to show you how to make a cute birthday card for an 8 year old however, you can recreate this card for anyone at any age.
Grab your tools and let’s make some birthday card magic!
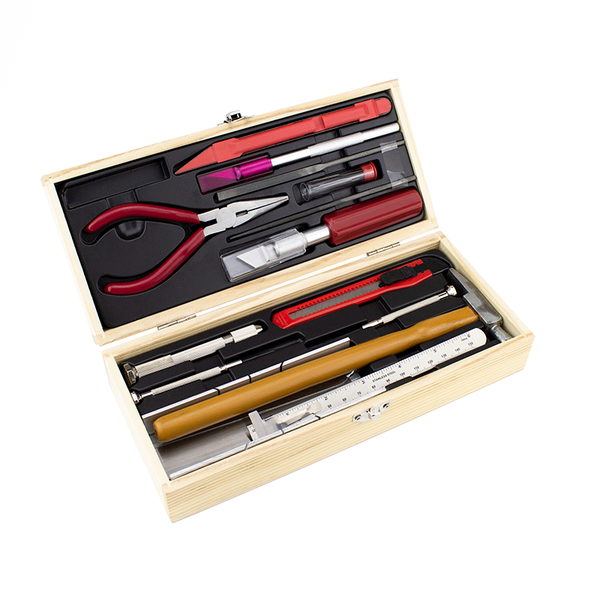
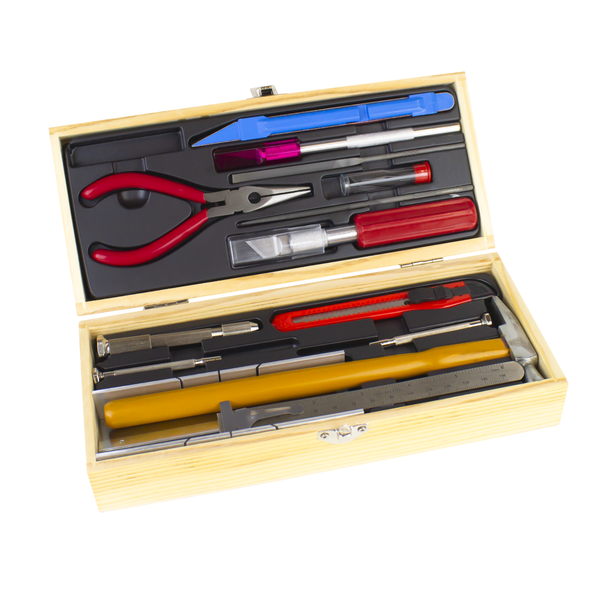
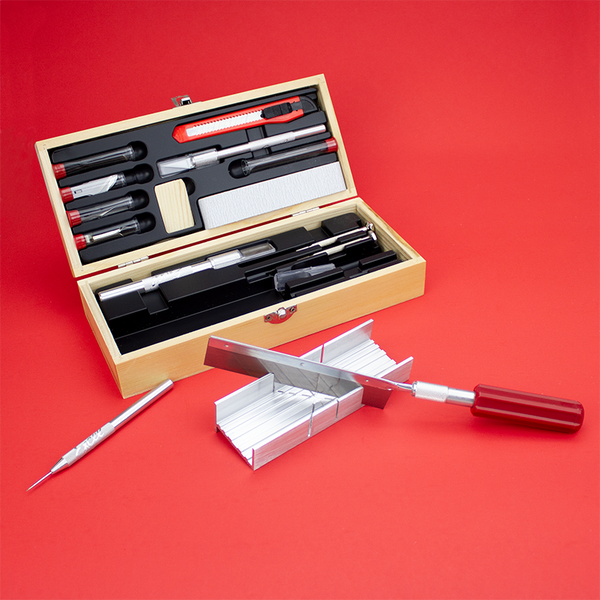
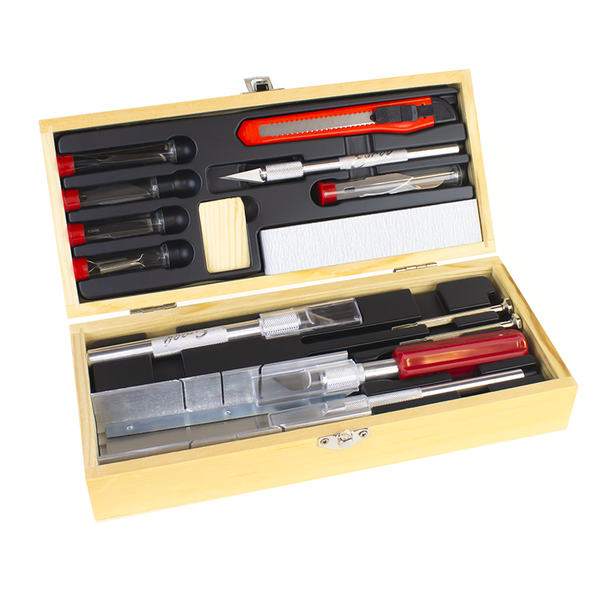
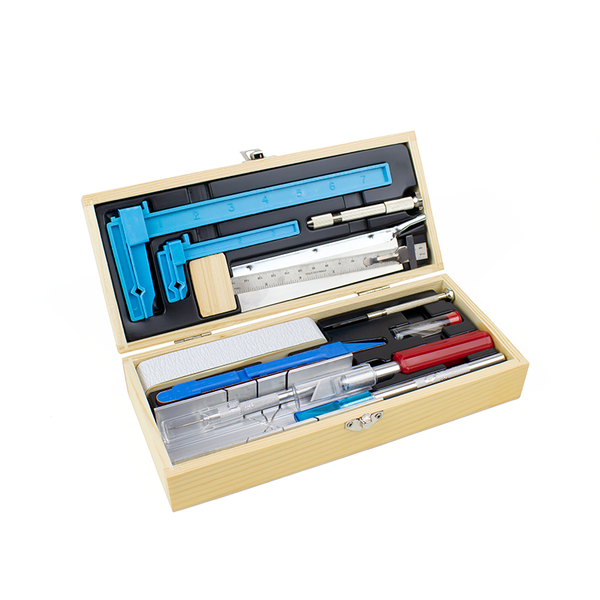
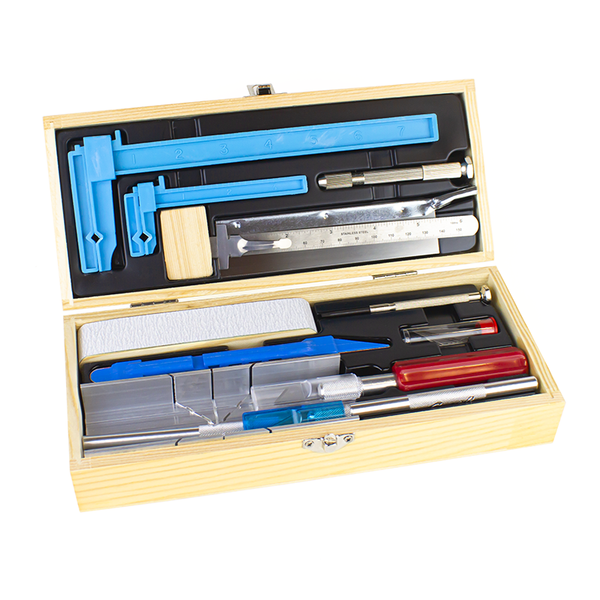
What You Will Need To Make A Birthday Card
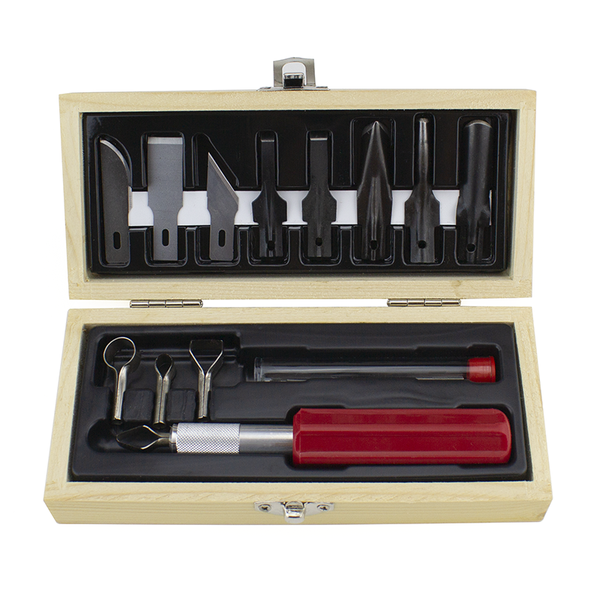
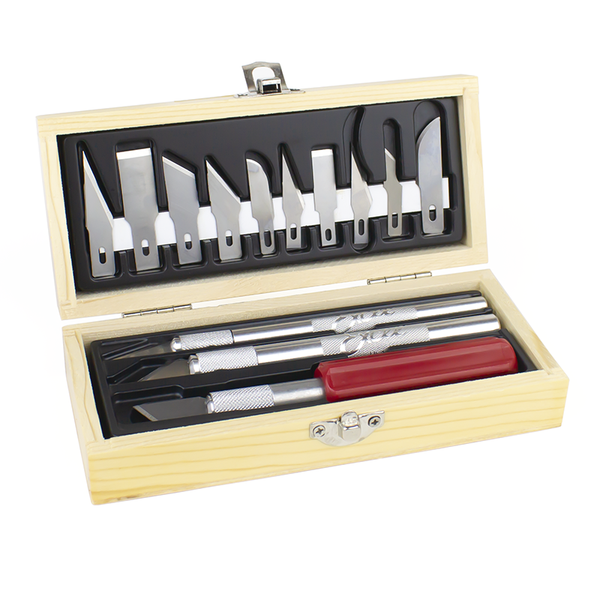
Excel Blades K1 Light Duty Knife
Excel Blades Medium Ball Tip Stylus
Excel Blades Curved Point Tweezers
Excel Blades Deluxe Conversion Ruler
Excel Blades Swivel Knife Post
Excel Blades Lead Post
Excel Blades Pin Post
Excel Blades 18” x 24” Self Healing Cutting Mat
Pencil
Marker
Gems/Beads
Different Colored Papers
Glue Gun
How To Make A Cute DIY Birthday Card
Grab your deluxe conversion ruler, pin post and lead post. Slide the pin post onto your ruler and tighten the knurl to hold it in place. Then, slide the lead post onto your ruler and tighten the knurl to hold it in place. We placed the lead post 1.5” from the pin post. Place the compass on your paper and draw out your first circle. Next, move the lead post so they are 2” apart. Draw your second circle to create an 8.
Now, take your lead post off the ruler and replace it with the swivel knife post. We placed the swivel knife post 1” from the pin post. Place the pin post in the center of the top circle and cut out an inner circle to create the 8. Repeat this process for the bottom half of the 8.
Tip: turn your paper instead of the compass when you are cutting the inner circle to help guide the blade.
Next, take your K1 Light Duty Knife and cut out the 8. Try to cut on the lines you created with the compass. Remove the 8 from the paper and cut off any excess paper off your number.
Grab the paper you are going to use for the base of your card and fold it in half. Using your deluxe conversion ruler, crease the folded edge of the card and place it to the side.
Now, let’s make some flowers!
Grab any color paper and a pencil. We chose to make our flowers purple. Using your pencil, draw out 1 five petal flower. Then, cut it out using your K1 knife. Next, grab your pencil and retrace the flower however many times you want. We decided to draw and cut 8 flower total.
After you have cut out all your flowers, grab your embossing tool and emboss a line on the center of each petal. Using your fingers, shape the petals of the flower where you created your embossed lines. Continue this process for all of your flowers.
We wanted to add a little something extra to this card. So, we decided to add a butterfly. First, draw out one of the wings for your butterfly. You can make your butterfly any size. Then, draw any design you want on the wing. Grab your K1 knife and cut out the design on the wing and the wing itself. Now, grab a different color paper and trace the outside of the wing you just cut onto the paper. Using your K1 knife, cut out the second wing. Then, grab your ball tip stylus and emboss the edge of the butterfly with the design. This will help give the butterfly a 3D look when we glue it all together.
Now, let’s put the card together!
Start by gluing your 8 onto the card. Next, glue the solid wing onto the card. We decided to glue our butterfly on the top right curve of the 8. Use your tweezers to help place the butterfly onto the card. Press down onto the wing to ensure all the edges are glued to the card. Then, grab the wing with the design and add glue to the embossed edge. Using your tweezers, place the embossed wing onto the edge of the solid wing.
Next, add your flowers to your card. We wanted our flowers to hide the pencil mark we made when we created our 8 with the compass, but you can place your flowers wherever you think is best. Remember to reshape your flowers before you glue them onto the card to give them depth.
Pick out the gems/beads you would like to add to your card. Glue gems inside the center of the flowers. Then, using a different color gem/bead, create the body of your butterfly. Glue each gem in a line on the edge of the wing.
Finally, grab a marker and write a message. HAPPY BIRTHDAY!
You have just created a super cute birthday card!

We hope you enjoyed creating this cute DIY birthday card as much as we did!
Don't forget to show us how you DIY by tagging us on Instagram at excelblades and excelblades.co. Subscribe to our YouTube channel for more DIY projects and tips on our tools. Make sure you are following us on our Amazon account to see live videos and workshops with our tools!
Missed our last blog? Don’t worry, we have you covered. See how Margaret Scrinkl makes a Donut Card using our K18 Grip on Knife, circle cutter, craft scissors, and an alumicutter ruler from Excel Blades alumikit.