Thanksgiving Card — Margaret Scrinkl (@scrinkl)
How to Make a DIY Thanksgiving Card
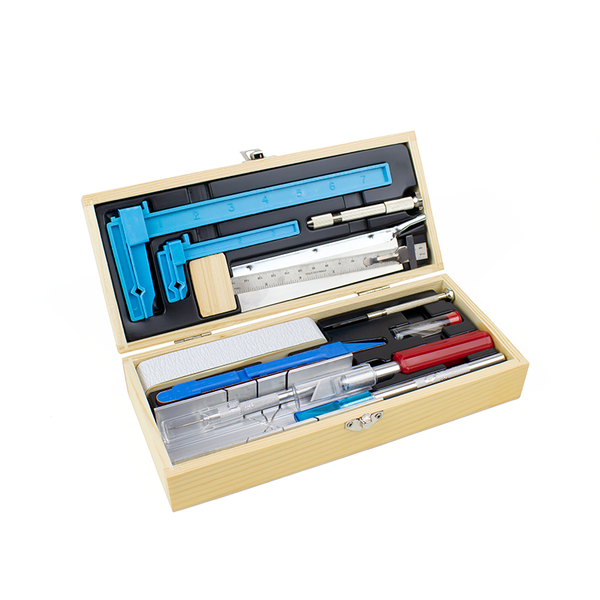
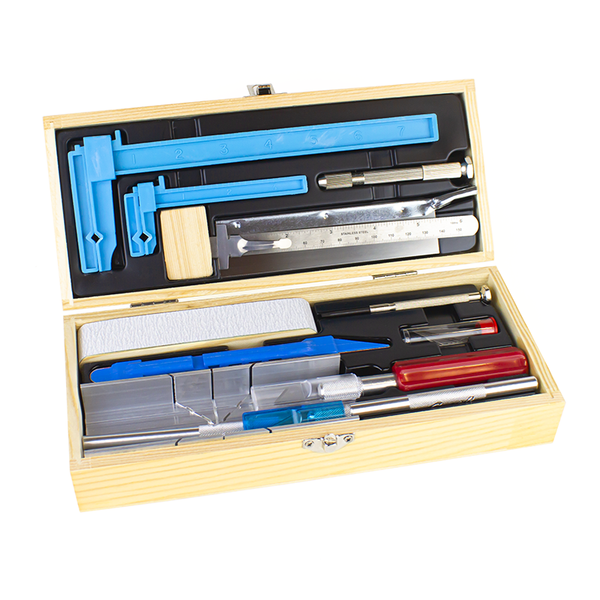
What You’ll Need to Make Thanksgiving Cards
Materials / Tools:
Light Green or Yellow Cardstock 5x7 inches (160 g/m2)
Fall colored paper (120 g/m2)
Black and white paper (120 g/m2)
Pencil and eraser
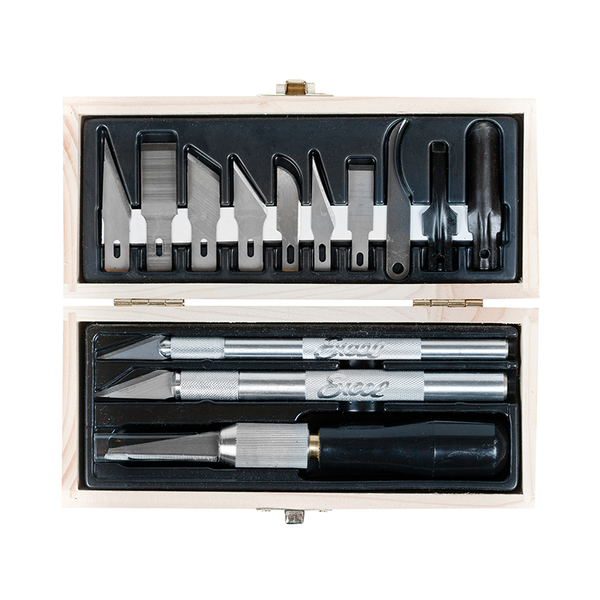
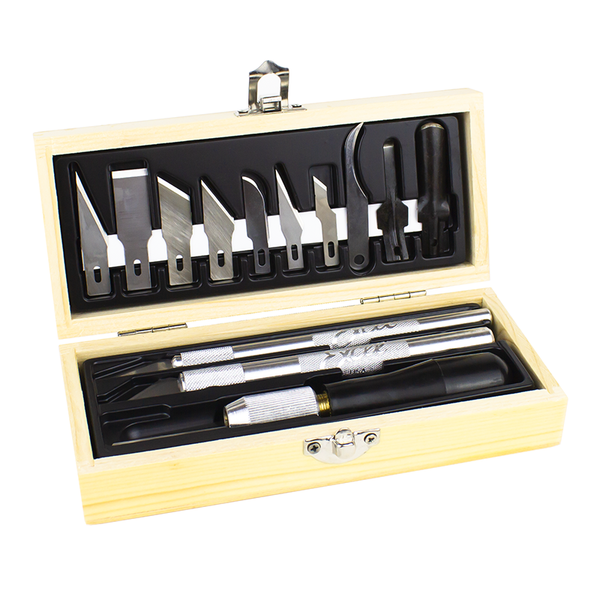
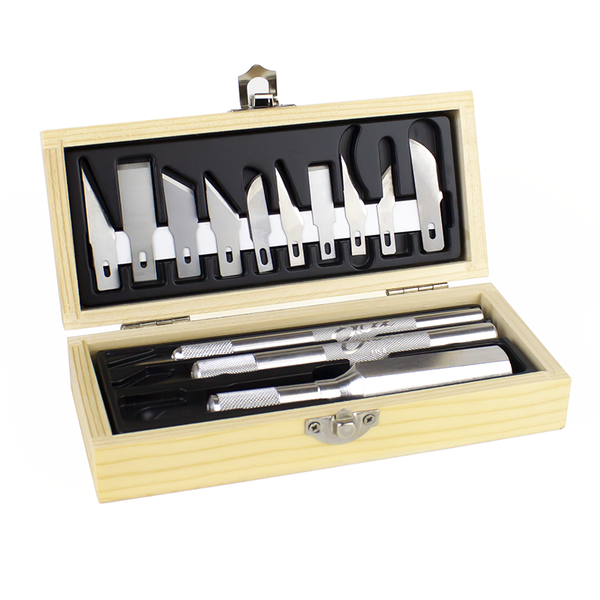
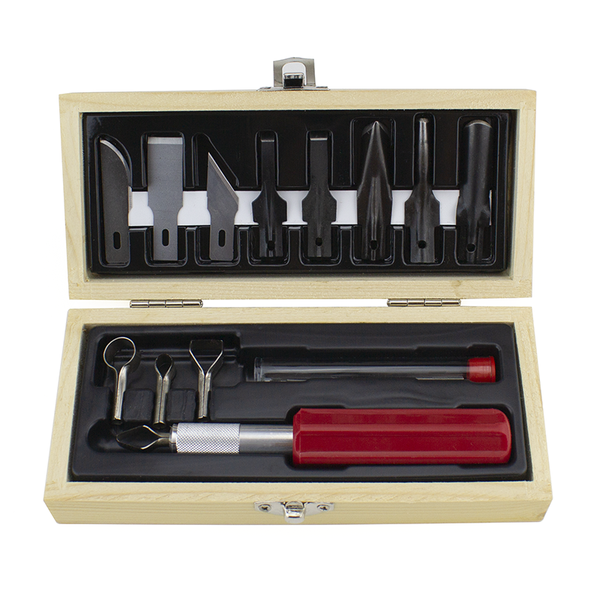
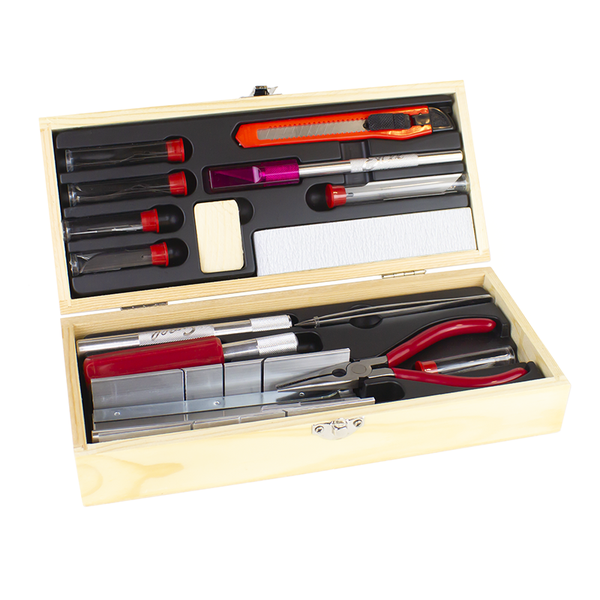
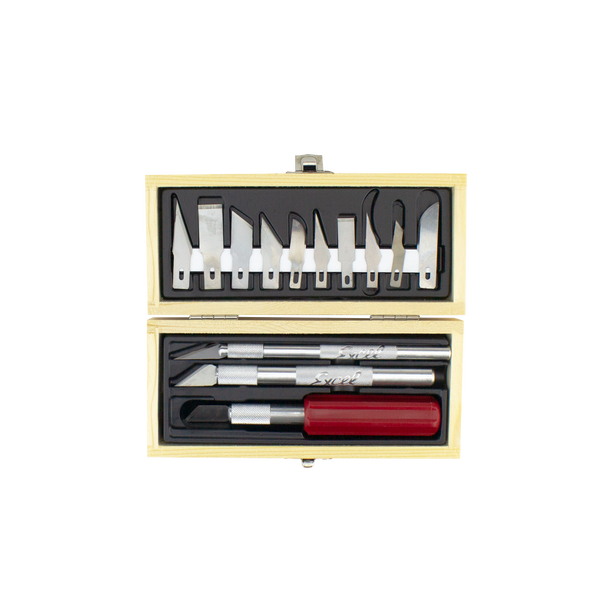
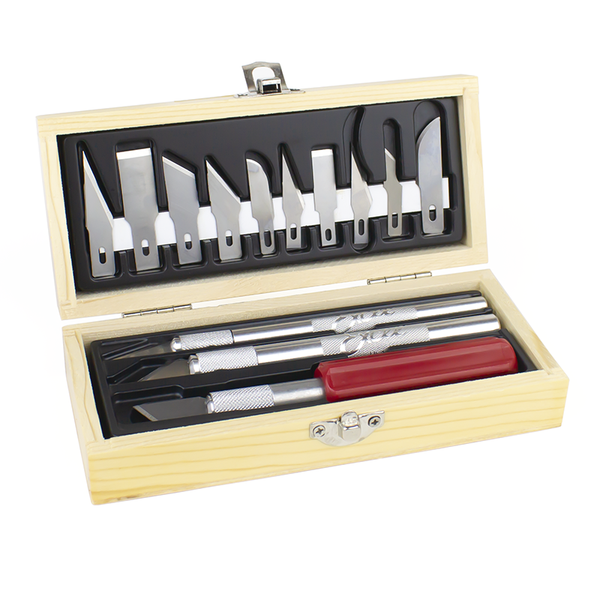
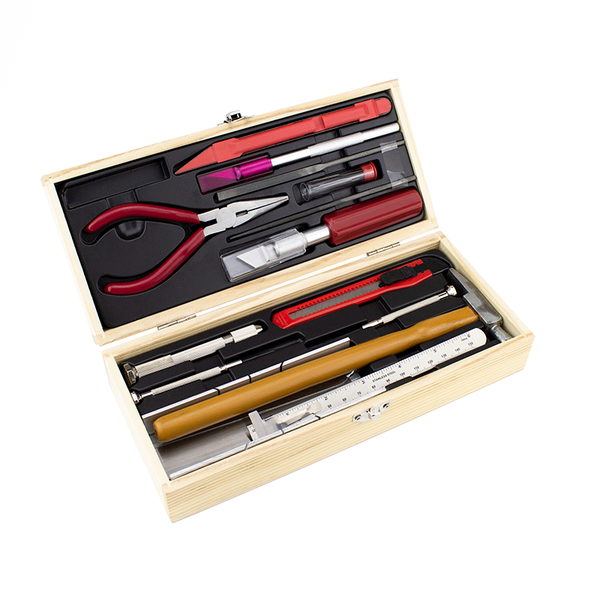
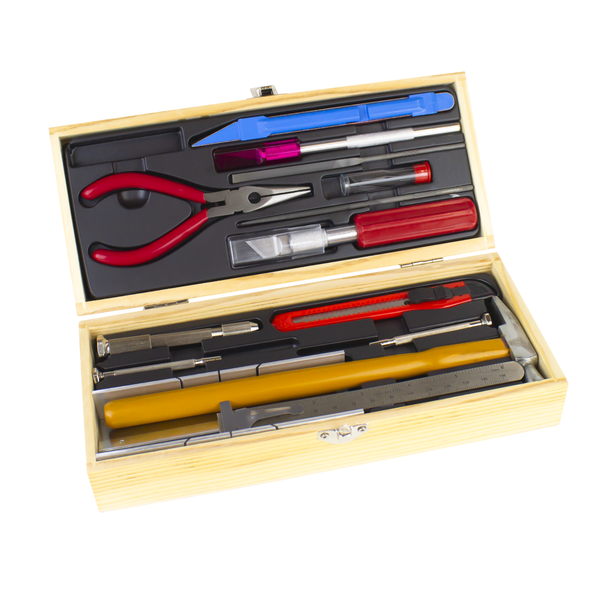
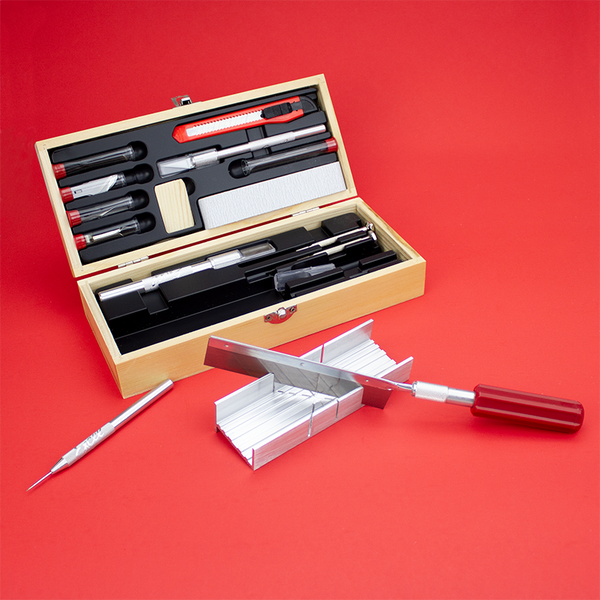
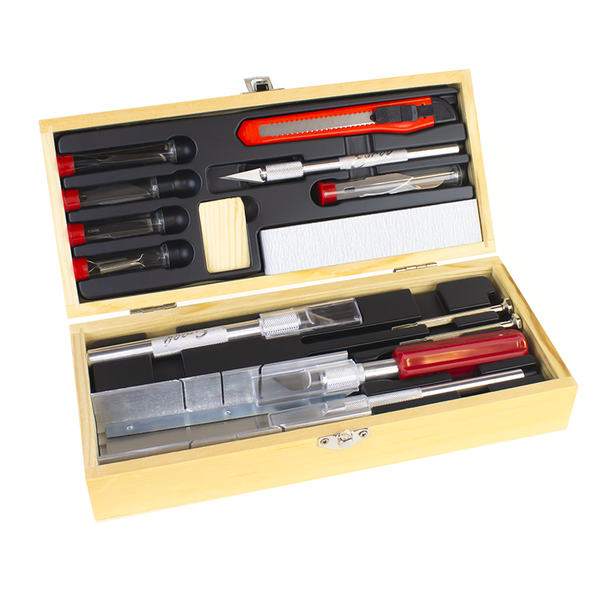
Excel Blades K18 Grip-on Knife
Excel Blades 5" Super Sharp Scissors
Glue
Double-sided foam craft tape
Fall Cards DIY Tutorial

Greet those most important to you with a thoughtful, handmade autumn card this Thanksgiving. This post will inspire you with Thanksgiving card ideas you can create using a few simple supplies at home, including glue, scissors, cardstock and Excel blades.
Cardmaking is an excellent craft for cultivating mindfulness, allowing you to work with fall colors and symbols to create a beautiful piece of art that everyone can enjoy. Our fall card tutorial can help you make perfect Thanksgiving place cards for the family table. These fall cards also make excellent greeting cards to say hello and give thanks to family and friends.
Making paper crafts for Thanksgiving Day is easy and fun with our step-by-step instructions. You can even get the kids involved in placing your fall-themed paper art like leaves, a pumpkin, a pilgrim and a turkey on the card.
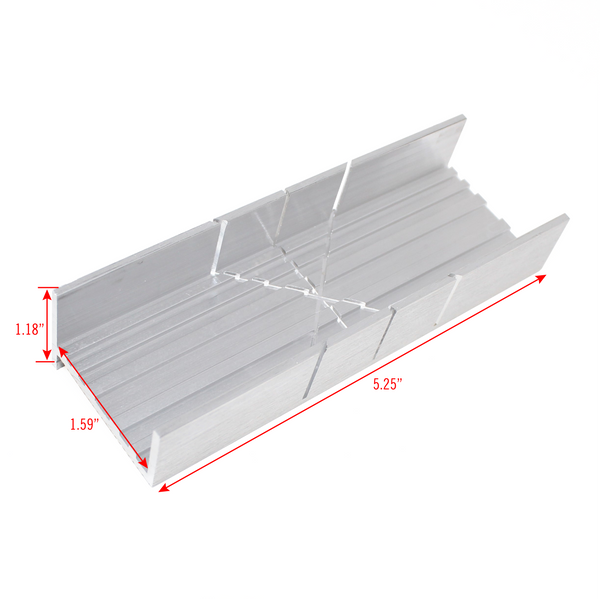
Get crafty this fall and make your very own decorations for the Thanksgiving table. Grab a paper cutting board, your high-quality Excel blades and the rest of the supplies listed in our easy-to-follow tutorial to get started.

Step 1: Before you get started making your Thanksgiving greeting card, lay down a durable cutting mat and collect your supplies. We suggest using a 5”x7” piece of heavy-duty cardstock for the card’s base.


Step 8: Place the head of the turkey on a small piece of black cardstock to draw the Pilgrim hat’s crown and draw the brim on the same piece of cardstock separately. Cut out the crown and brim using your scissors.
Trace a small buckle on a scrap piece of yellow cardstock. Then, use your Excel blade to cut out the center of the buckle and the scissors to trim the edges.
Use the glue to stick the buckle to the hat’s crown and attach the hat's brim slightly overlapping the bottom edge of the buckle. Glue the hat to the turkey’s head.
Use the Excel blade to cut a small circle from white cardstock for the turkey’s eye and draw a small upside-down semi-circle in the center using your pencil or a felt-tip marker. Glue the eye to the turkey’s head.


Step 14: Write a heartfelt message of thanks in the center of the card.
Celebrate the Season with a Handmade Fall Greeting Card
Creating a thankful for you or thank you card this November is a simple, unique craft to help you celebrate the season. Feel free to follow our tutorial or use it as inspiration to create your own fall design for a cute, handmade greeting to tell your loved ones Happy Thanksgiving this holiday.
For more DIY Thanksgiving crafts ideas, subscribe to our YouTube channel — and don’t forget to tag your finished card on Instagram at excelblades and excelblades.co.