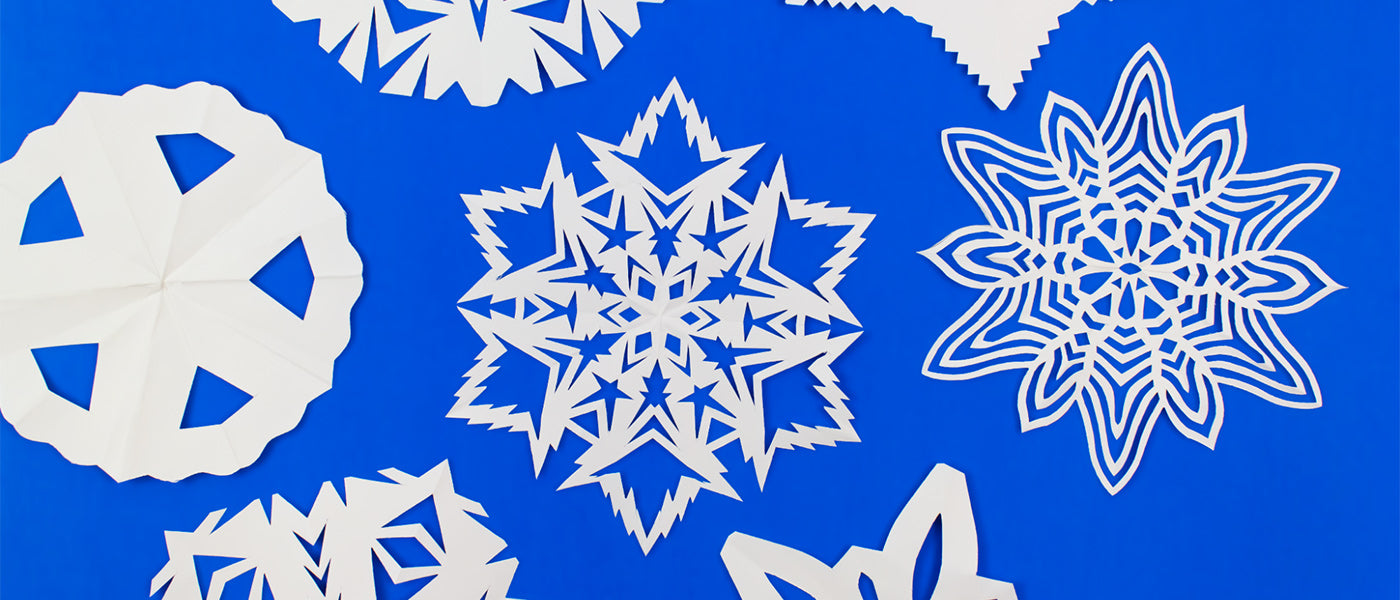
A Beginner Crafter’s Guide: How to Make a Paper Snowflake
Who remembers making these out of napkins when they were a kid? Anyone used up a whole package of napkins and had their parents wondering why there’s none left to use at dinner… the night sloppy joe sandwiches were served? No? Just us?
Anyway, paper snowflakes are a time-honored tradition during the winter holiday season, and are believed to have originated during the Victorian Era, when long evenings and cold weather kept the whole family occupied at home.
You can make beautiful flurries using printer paper, writing paper or craft paper. You’ll also need a pair of craft scissors.
Check Out All the Scissors We Offer!
Selecting paper is important. Don’t use anything that’s too heavy in weight, as you won’t be able to fold neatly or cut through all the layers evenly. Starting with an 8.5”x11” piece of paper, we chose writing paper for our snowflakes. It's 25 percent cotton and has a bit of texture but is still smooth and we can cut through all the layers.
Six-Point Paper Snowflake
This is perhaps the most commonly made paper snowflake, as naturally occurring snow crystals almost always have six sides. You can read more about this in this article from the Smithsonian Magazine.

Step One: Fold the sheet at a diagonal and cut off excess. You should have an 8.5”x8.5” square.

Step Two: Fold back at the diagonal into a triangle.

Step Three: Fold again so that the two acute points meet. Gently press the edge for a smooth fold.

Step Four: Fold into thirds by overlapping. You should have a shape that looks like an arrowhead.

Step Five: Trim off excess so that all thirds are the same size.

You now have a “blank” for your snowflake. Repeat steps one through five for each six-point snowflake you’ll make.
Step Six: Using scissors, trim away paper on both sides. Start with straight lines that meet at a point so you can practice cutting through layers of paper. As a general rule, the more you trim off, the more delicate the snowflake design will be.
Step Seven: Carefully unfold your paper to reveal the snowflake. To flatten, place under something weighted like a book.
Tool Tip: For an advanced design, try curved nose scissors for cutting small round shapes like hearts, teardrops and more.
Star of David Paper Snowflake
A variation on the six-point snowflake, this design is ideal for decorating the home for Hanukkah. This variation is simple and beautiful. Make a few for a minimalist decor or make many for a full display.

Follow steps one through six and then cut away paper like in the image below. This will give you a six-pointed star shape. Using scissor tips or a craft knife, you can add a design to the edge by cutting a zig-zag, a scallop or even fringe. To avoid any damage to the cutting surface, make sure to use a cutting mat and remember to replace your stainless steel blades if they are worn.
Check Out These Durable Cutting Mats

Tool Tip: When cutting out shapes, use the front tips of your scissors for a better cut. When cutting shapes to a point, listen for the “snap” of your scissors. This means both edges cut through all paper layers.
Eight-Point Paper Snowflake
The eight-point snowflake can become very ornate with just a few cuts since there are more folds. The image below illustrates the difference between a six-point and an eight-point snowflake, where the same cuts were made on both. Once unfolded, the eight-point snowflake design looks more intricate and has more “negative space.”

Use a lighter weight paper or even tissue paper for this version, as this snowflake requires more folds and you're going to be cutting through additional layers.

Step One: Fold the sheet at a diagonal and cut off excess. You should have an 8.5”x8.5” square. Press down along the fold for a neat line.

Step Two: Fold the square back at the diagonal into a triangle. Gently press along the edge for a smooth and crisp fold.

Step Three: Fold again so that the two acute points meet. Gently press the edge for a smooth fold.

Step Four: Fold in half again, pressing along the edge once more.

Step Five: Once again fold in half. This step will be harder if the paper is thick. Smooth out the edges for a crisp fold.

Step Six: Cut off the excess. This is your eight-pointed paper snowflake blank. Repeat steps one through six for every new snowflake.
Step Seven: Cut out the shapes on both sides and be sure to carefully cut through all the layers. Carefully open up the paper snowflake to reveal the final design. Press flat by placing a book on top.

Five-Point Paper Snowflake
This one has fewer layers so it is easier to cut, but a bit more complicated to fold. If geometry was your favorite subject in school, this is the one for you!

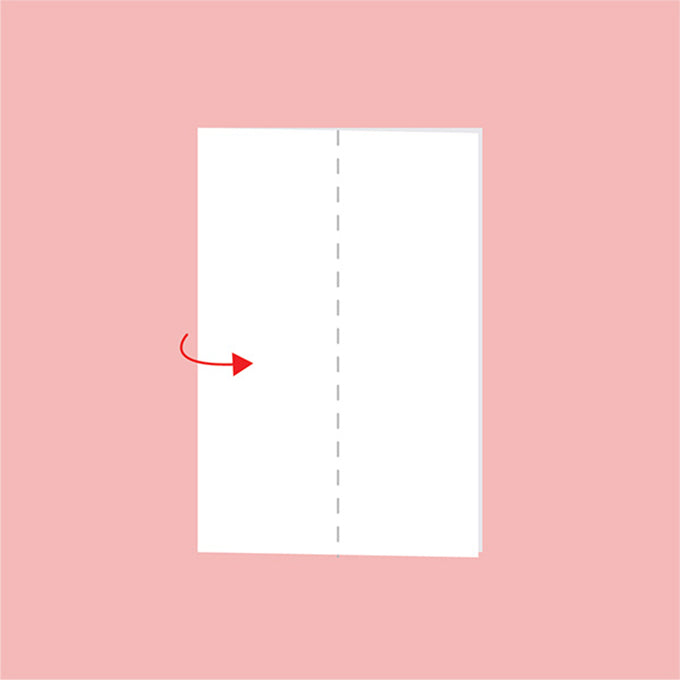
Step One: Start with an 8.5”x11” sheet of paper in the Landscape orientation. We have not tested this in A4 format. Let us know in the comment section if you have and if it works!

Step Two: Fold in half. Press along the edge for a smooth fold.
Step Three: Fold in half again, creasing the fold and then unfold.
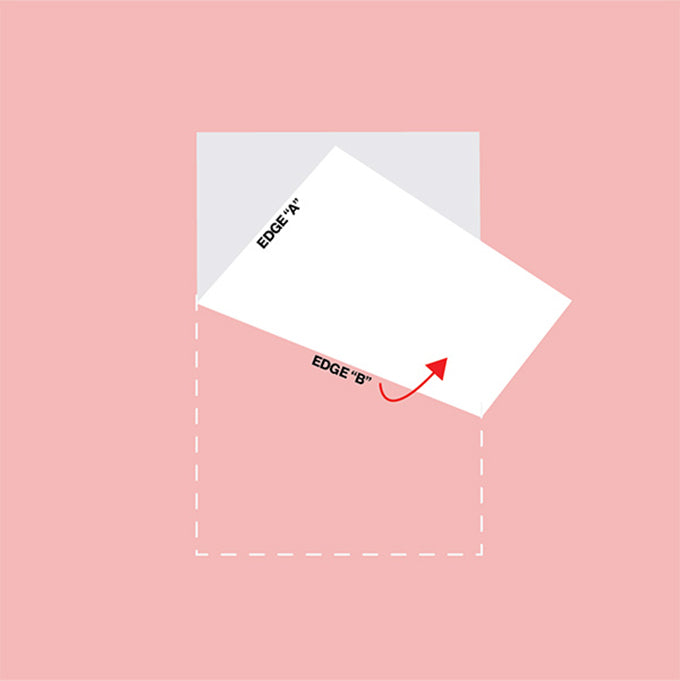
Step Four: The next few steps may seem tricky at first, but you’ll get there. First, bring the left bottom corner to the top of the fold line like in the diagram above.

Step Five: Bring the “new” right bottom corner over and fold so that “Edge B” is in line with “Edge A.” Press on the crease for a smooth fold.

Step Six: Fold back the upper right corner along “Edge B.”

Step Seven: Trim off excess with scissors. This is now your blank for a five-point snowflake.
Step Eight: Cut away on both edges and carefully unfold to reveal your design.
Have fun with these and don’t forget to share your beautiful creations by tagging us on social media @excelblades and #excelblades.
