February 28, 2020
How To Make An Ice Cream Cone Charm - @sweet.carolines.clay

Did you hear they passed a law banning ice cream? No need to worry, it was ruled un-cone-stitutional! If there is ever a life without ice cream and waffle cones, then I don’t want to be apart of it! Caroline of Sweet Caroline’s Clay proves our point with this beautiful Polymer Clay Ice Cream Cone Charm. This charm has everything!
Waffle cone✔
Ice cream scoop (there it is) ✔
Hot fudge✔
Sprinkles✔
Cherry to top it all off✔
Not only does this charm have all the ingredients for the best ice cream cone, you can attach it to your bracelet, necklace, backpack, phone case and more! Excel Blades products are mint for polymer clay projects and Caroline of Sweet Caroline’s Clay shows you just that. This charm is the perfect gift for any ice cream lover.
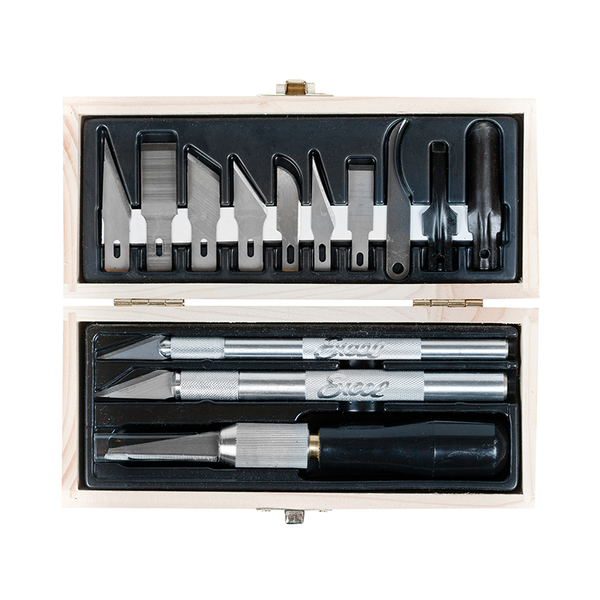
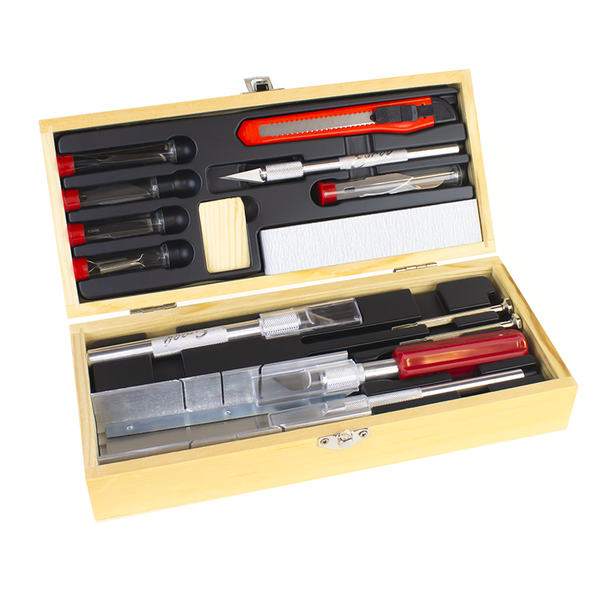
Materials
Polymer Clay - Tan & Pink
Liquid Sculpey - Translucent or White
Brown Plasticine
Chalk Pastels - Yellow & Orange
Prebaked Polymer Clay Chips - Red & Rainbow
Roller
Sculpey Satin Glaze
Paint Brush
Small Mixing Bowl
Tooth Brush
2 x 5mm Eye Screw/Findings
Process
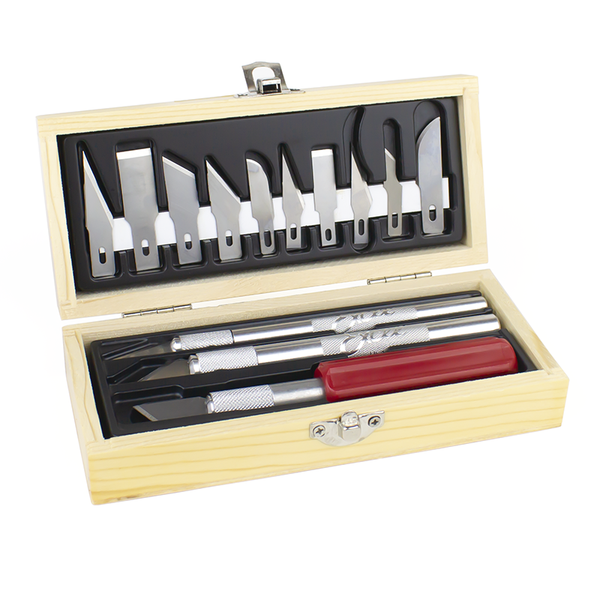
Let’s start by making the cone first. Begin by grabbing a chunk of tan polymer clay, your K26 FitGrip Knife, and your self-healing cutting mat.

Next, roll out the clay by using your hands.


Once you've rolled out your clay, it should look like this.

Then, take your K26 Fit Grip Knife and cut a piece out of your rolled clay. The piece you cut off should be approximately ½ an inch all the way around.
TIP: Cut the clay in the center to ensure your piece is the same size throughout.


Roll your tan chunk that you just cut off into a ball using your fingertips.

With your roller, flatten the clay ball. Don't forget to flip it over and roll the other side of the clay to ensure it is smooth on both sides. It should be about an inch and a half in size once you've finished rolling the clay.

Next, using the end of your K26 Fit Grip Knife, roll and imprint the flattened clay to make a waffle print for your cone. Make sure you imprint the entire flattened circle of the clay.


Once you've made the waffle imprint on the clay, it should look like this.

Next, cut off the excess clay. You should be cutting off about ½ and inch of clay. This will leave you with about an inch of waffle cone textured clay.


Then, lay the 1 inch clay down and using your FitGrip knife, score the edge of the cone. You can also use the retractable scribe tool to score the edge as well.

Once you’ve scored the edge of the cone, shave some of your yellow and orange pastel chalk into a small mixing bowl.


Mix the two colors together and brush it onto the cone to give it a more realistic ice cream cone color.


Once you’ve brushed the pastel chalk onto the polymer clay, it should look like this.

Now, take a little piece of the tan clay you rolled earlier and rolled it into a cone shape to fill the inside of the cone.

Once you’ve rolled the little piece of tan clay, place it on the inside of waffle cone clay and roll it up to create the cone.


Before you smooth the edges of the cone together to close the cone, score the edge of the cone.


After you have scored the edge of the cone, carefully smooth the edge of the cone with your fingertips to give it a more unified look.


Now, set your cone aside. Let’s start making everyone’s favorite part, the ice cream!
Take some pink polymer clay and prebaked red polymer clay chips (should resemble sprinkles). Place the sprinkles on top of the pink clay and mix them together with your fingertips.


Once you’ve mixed the clay and sprinkles together, roll out the clay and sprinkles with your fingers like you did when creating the waffle cone.


Once you’ve rolled out the polymer clay to about a half an inch all around, cut approximately a half an inch off of the roll with your FitGrip knife.
TIP: make sure to get a part of the clay that you can see the sprinkles mixed into it.


Now, roll your half inch clay and roll it into a ball or ice cream scoop.

After you’ve rolled the clay into a ball, place it on the top of your ice cream cone.


Smooth your ice scream scoop onto the cone to give it a more realistic look.

Then, take some of the extra pink clay you have left over from when you were making the ice cream scoop and roll out a thin piece of clay with your fingertips. It should be about an eight of an inch thick.


Once you’ve rolled out the clay, place it onto the edge of where the ice cream and cone “meet"
TIP: Make sure to leave some of the rolled clay hanging off the end, this will help with the next step.


After you’ve placed the rolled clay around the entire cone, twist the hanging/excess clay together. The clay should look like this.

Using your K26 knife, cut off the excess clay from one end.


Take the other end of the clay and match it up to the end of the clay you just cut off.


Now, cut off the excess clay with your FitGrip knife.


Once you’ve cut off the excess clay, smooth out the edge/cut with your fingertips so it is uniform.


After you’ve smoothed out the edge, using your retractable needle point awl score the edge of the ice scream. This will give it a freshly scooped look.


Then, take a toothbrush and softly brush the scoop of ice cream. This will add some texture to the scoop and make the ice cream look more realistic.


Now its time to add the eye screw. Simply place the screw where you would like it to be on the charm and slowly turn it into the ice cream scoop. Caroline decided to put the screw off to the side of the scoop.


Once you’ve inserted the eye screw onto the ice cream charm, take your scribe tool and fix the clay around the charm.


After you’ve scored the ice scream scoop to your liking grab your small mixing bowl. Add brown plasticine clay and liquid sculpey to the bowl. Melt and mix together until you get a liquid consistency good for drizzling. This mixture will be the fudge drizzle on your ice cream charm.
TIP: use the end of your paint brush to mix the liquid sculpey and plasticine clay together, less clean up for you at the end.


Using the end of the paint brush, gather some of your “fudge drizzle” and place it on top of the ice cream. Here, Caroline also puts the “fudge” on the eye screw to “hide” it.


Now, time to add sprinkles! Seriously, what is ice cream if it doesn’t have rainbow sprinkles? Take your pre-baked rainbow polymer clay mixture and add it to your “fudge drizzle” before it dries.


After placing the “sprinkles” on your ice cream charm, take your straight point excel blades tweezers and move the sprinkles around to where you want them.


Now, for the cherry to top it all off! Grab you Retractable Needle Point Awl and some red polymer clay. Roll the red clay into a small ball to resemble a cherry. Grab your scribe tool and gently place the cherry at the top of the ice cream cone.
TIP: place the red clay onto the scribe so that it can hold it but not enough for it to get stuck on the scribe. Once you’ve placed the cherry on top, move it around with the scribe to get it exactly where you’d like it.


Once you’ve added the cherry, coat with sculpey satin glaze and bake until hard. Grab your needle nose pliers and add the ring to the charm. Open up the ring, put it into the eye screw, and close the ring.
\


You are now done making your Ice Cream Charm! Add it to a necklace, like Caroline did, or add it to a bracelet, backpack, necklace and so much more!

Don’t want a strawberry ice cream scoop? Change the color of your clay and make it whatever you’d like! The great part about this charm is you can make it personalized for you, or the ice cream lover in your life. Whether this is a gift for a special person in your life, for you, or you just want to create ice cream charms because it’s your favorite snack; you can’t go wrong with this DIY. Ice cream is always in season no matter what weather you are having
Just chill out and enjoy this tutorial by Caroline of Sweet Caroline’s Clay, because ice cream solves everything!
We hope you enjoyed this polymer clay craft as much as we did! Don’t forget to show us how you DIY by tagging us on Instagram at excelblades and excelblades.co. Subscribe to our YouTube channel for more DIY projects and tips on our tools.