How to Make a Pop-Up Card: Step-by-Step Guide
There are few gifts more special than receiving a homemade card. We love them because they offer that special touch that says “I care” — way past purchasing one at a store.
Not only are store-purchased cards expensive, but they lack personalization. We love to personalize everything and thought this would be a great summer project. Lucky for some people, they get summer birthdays! But this is a great craft project year-round. Follow us with our step-by-step guide into how to make a pop-up birthday card for your special someone!
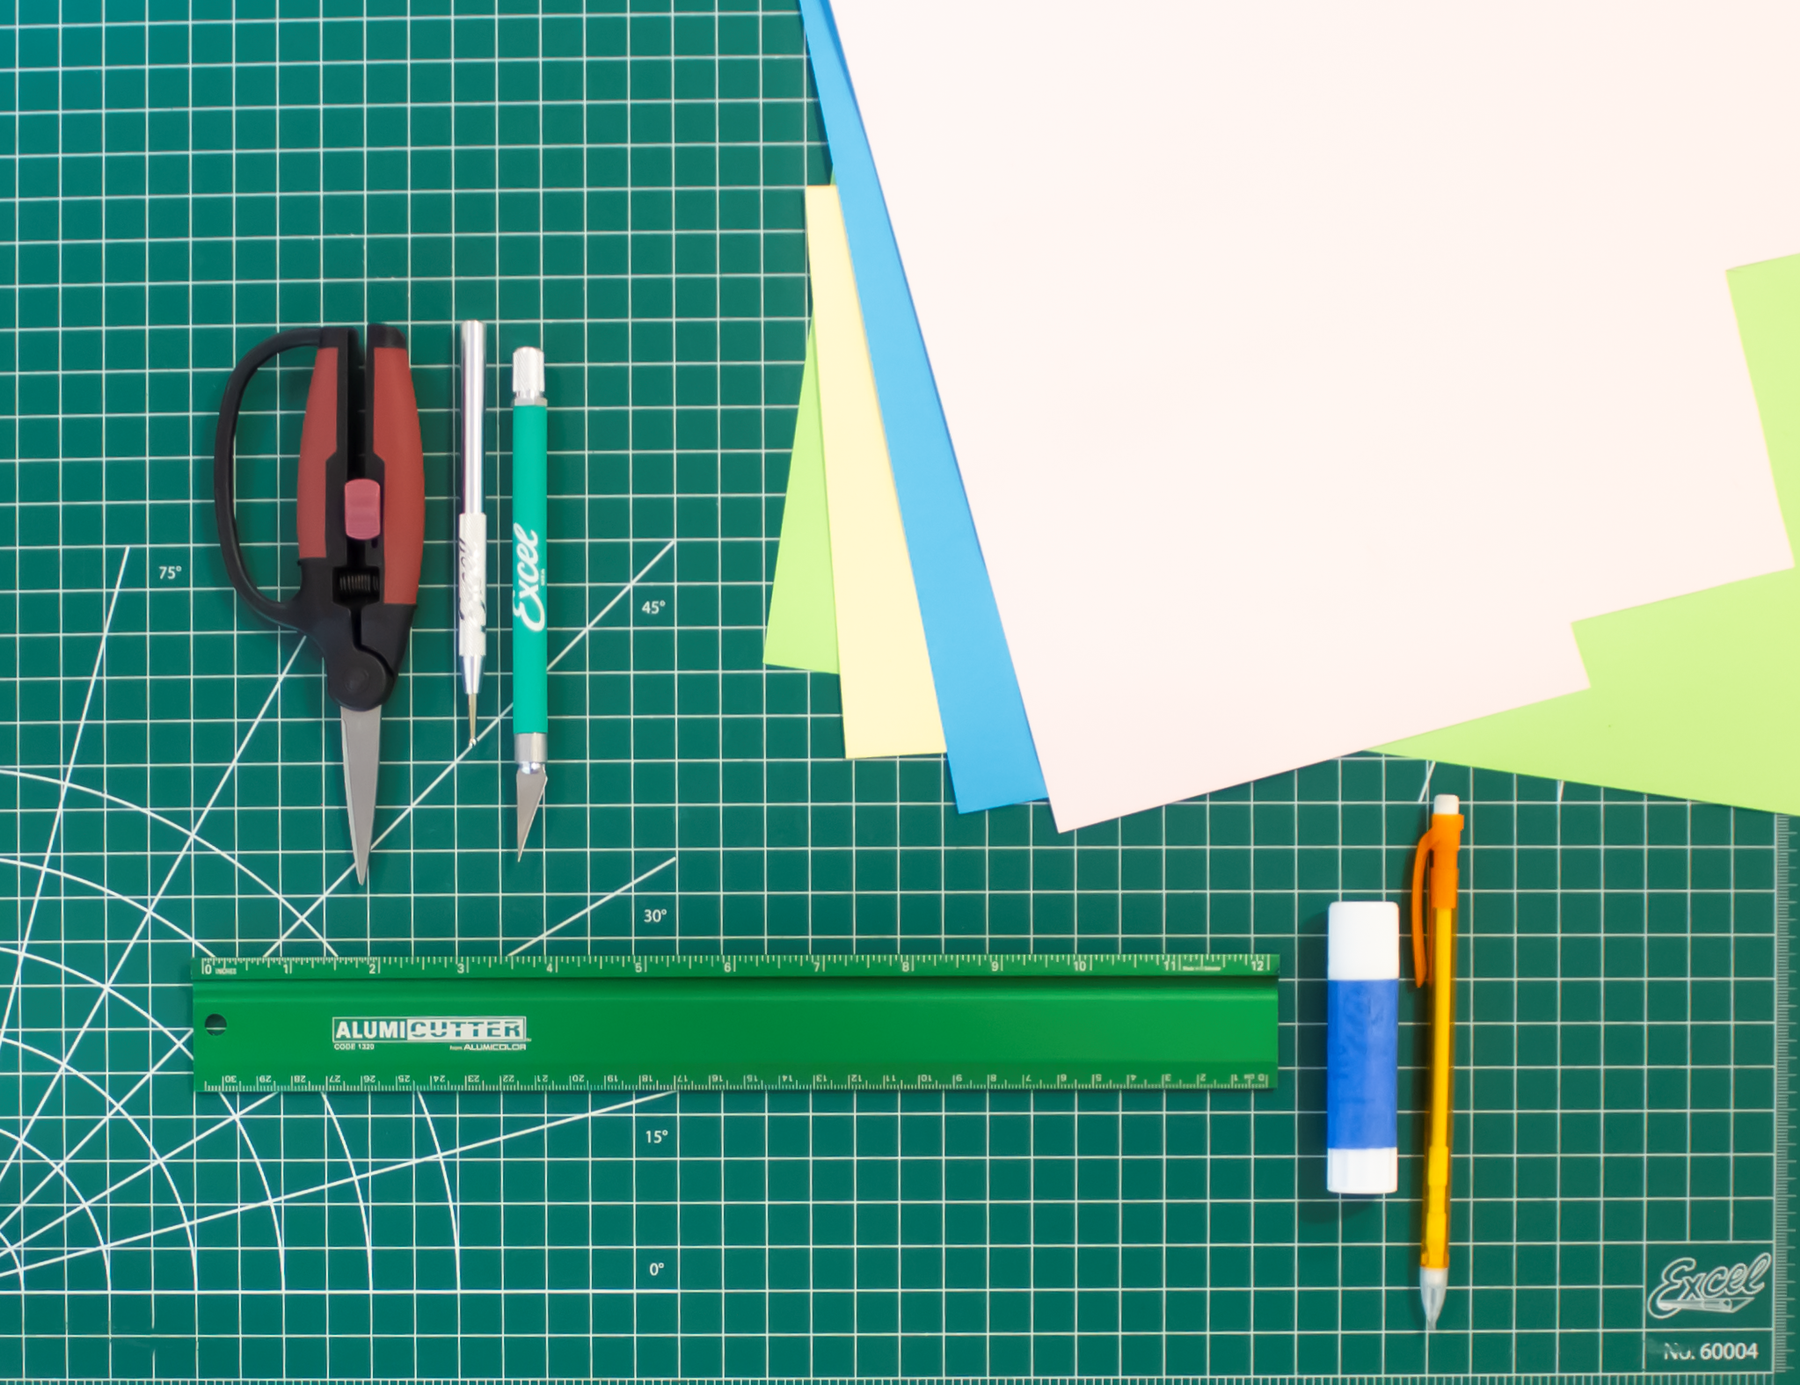
Tools and Materials Needed
Excel Blades K18 Cushion Grip Knife
Excel Blades Large Ball Tip Stylus
Excel Blades Comfort Grip Scissors
AlumiColor Ruler
Cardstock Paper
Glue Stick
Marker
Pencil
Directions
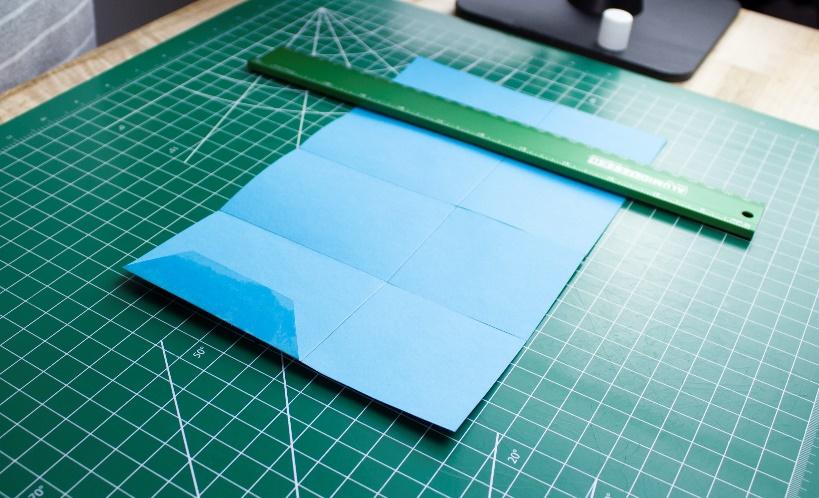
First, grab a piece of your favorite color cardstock, Alumicolor Ruler and a pencil. You will first be drawing a line across the sheet to create a box that is 12” x 6.5” (30.5 cm x 16.5 cm). Your paper should be cut down to this size. Then, you are going to turn your sheet towards you horizontally and mark four lines at every 2.75” (7 cm).

Next, measure 2.75” (7 cm) on the top of the paper, perpendicular from the lines you have already made. This line should be going across the four lines you have already made. At this point, you should have 10 total boxes and three different sizes.
Starting with the top of the paper, where the smaller boxes are (2.75” boxes), cut along the lines with your craft scissors. The ends of both rows will contain a 1” wide box. You may cut this box off only the top row. For the second 1” wide box, on the bottom row, cut off the corners. The reason we are cutting off the corners is to create a hidden tab that holds the box together.

Now, take your Large Ball Tip Stylus and Alumicolor Ruler and score along the lines of the uncut second row. Along the lines of scored paper, begin folding the paper. Be sure to crease your lines again as you fold them with the end of your ball tip burnisher. In the end, you should form a box shape. Grab your glue stick and begin adding glue to the cornerless tabs and pressing it to the next piece. As we mentioned before, this will be the piece that holds your box upright. Make sure you fold down all of the cut pieces to form a shape that looks like an open box.

Now, grab a second piece of cardstock and cut it slightly smaller than the dimensions of the open flaps. Next, you will cut four of these squares. Ours is about a quarter inch smaller on each side. Then, grab your glue stick again and paste these to each open flap. This will give your card some extra flair! Feel free to make each box a different color, or add some special words of love and admiration to each square.
You need to add strip insert supports at the top center of the box card. First, go back to your original color cardstock and cut out three pieces of paper 4.75” x 1” (12 cm x 2.5 cm). Once again, score the end of each support 1” (2.5 cm) from the end of the paper. These inserts give you the ability to add in all the "pop-up" features to the card. You need a minimum of two inserts. We prefer three to give a nice full look to the finished card.

In the final steps of creating your beautiful homemade pop-up card, you have the liberty of getting creative. We decided to cut a small 2” long piece of cardstock and wrote “HAPPY BIRTHDAY!” on it. You can write your message here, depending on what you are celebrating. Because we wanted to make this card special, we also cut out eight hearts. We then assembled the hearts by gluing them to the ends of the thin paper tabs. You can add the strips to the interior of the card box. The toppers can also be added to thin strips of paper, similar to the hearts we added to the box.


We hope your loved ones enjoy their homemade DIY birthday card as much as we enjoyed making it!

Don't forget to show us your Pop-Up Card and all of your craft projects by tagging us on Instagram at excelblades. Subscribe to our YouTube channel for tips, tricks and tools. Be sure to visit Excel Blades for all of your craft tool needs.