January 22, 2021
How To Make A Cardboard Window Valance - Excel Blades
We love to re-use materials that would typically be thrown out to create easy home décor. What better way to use that cardboard box you are about to throw out than by creating a window cornice or valance! No need to spend money on a custom made window valance when you can create it yourself with items you already have around the house. Instead of using wood, we decided to use cardboard. It is a lightweight and inexpensive way to add some pizzaz to your home.
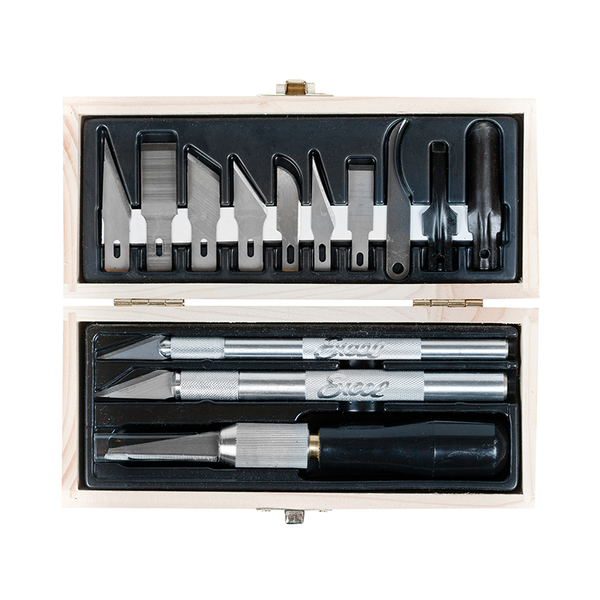
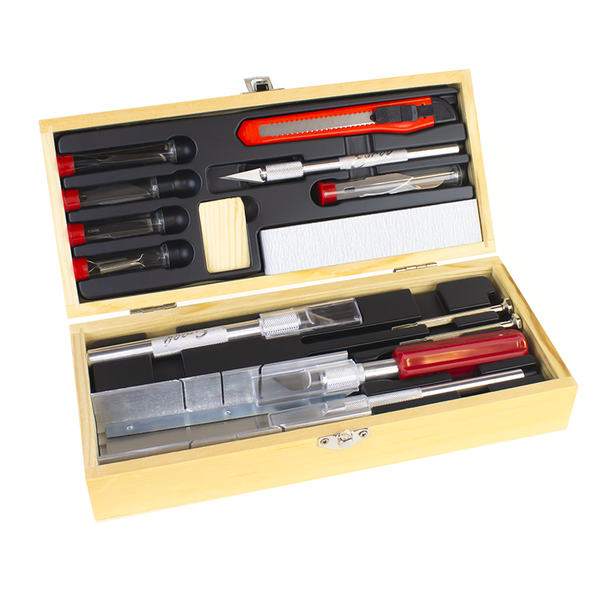
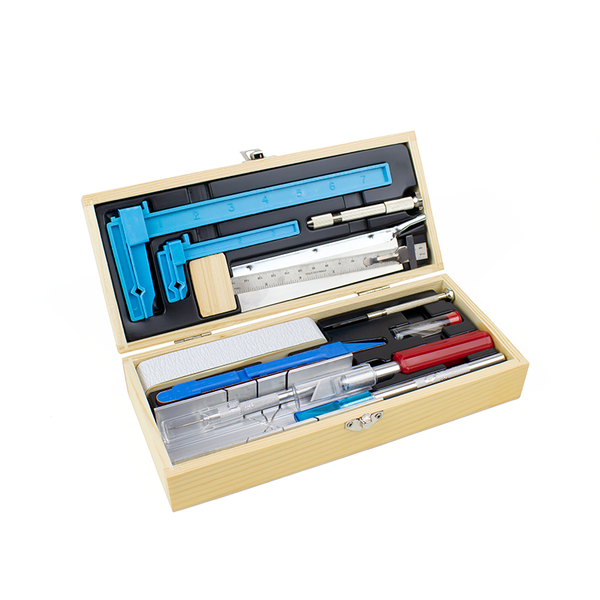
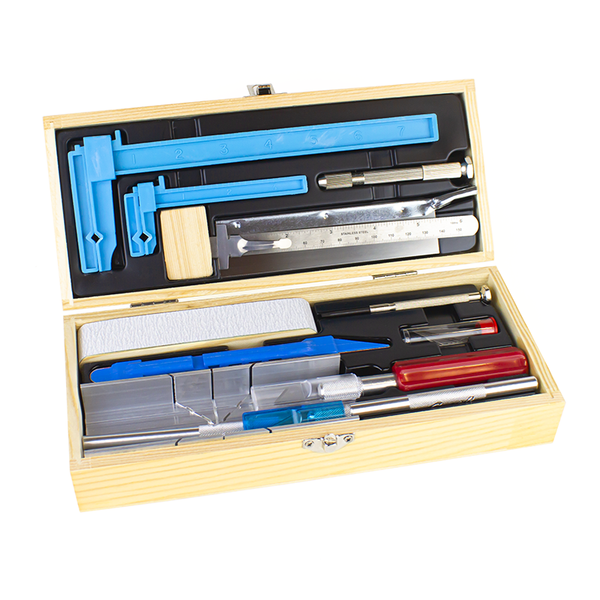
Making the window cornice only requires cardboard, fabric, a measuring tape, hot glue, chalk and a hobby knife. Not only is this easy to make, it is easy to install and can be changed at any time. Make a new window valance for each holiday or keep the same one up all year round. The possibilities are endless when making this window cornice. The hardest part about recreating this blog will be determining what color fabric you want to use.
Grab your measuring tape, some coffee and let’s get started!
Materials
Cardboard - a large piece depending on your window size
Fabric
Hot Glue
Chalk

Step 1: Measure the width of your window from the outside edges of the trim. Measure the depth the cornice board will need to be from the wall past the rod/blinds. Determine the height you want the valance to be.
Tip: When measuring the depth, make sure you add an inch to your total measurement to ensure the valance is not only flush against the wall, but to make sure that it will not hit the rod/blinds.


Step 2: Once you have taken all your measurements, grab your cardboard. Measure each piece of the valance individually. Our window was 25” wide and we wanted the valance to be 5 inches tall. We drew a rectangle with the chalk on the cardboard measuring 25” x 5”. Then, we cut our rectangle with our K26 Fit Grip Knife.
Tip: Be sure to measure twice and cut once. You always want to make sure that your measurements are correct before you start cutting. 

Step 3: Next, measure and draw the sides of your valance. Our sides were 3” wide and 5” high. Once you have those measurements drawn out on your cardboard, cut them out.
Step 4: Then, measure and draw the top of your valance. The top of our valance is 25” x 3”. Once you have those measurements drawn out on your cardboard, cut them out.
Now, let’s glue the valance together!
Step 5: Grab your hot glue gun and cardboard pieces. Gluing one side at a time, add glue to the edge of your cardboard. Then, apply it to the respective cardboard piece it should be attached too. Continue this process until your valance is glued together. Once all your pieces are together, let the valance dry.
Step 6: While the valance is drying, grab your fabric and measuring tape again. Measure the cardboard from one end to the other including the sides of the valance. This is to ensure the fabric will wrap completely around the valance and there will be no sign of cardboard. Add 2 inches to your final measurement. Repeat this process for the front and top of the valance. Add 2 inches to your final measurements for each as well.
Step 7: Measure your fabric, then with your chalk draw the size you need for your valance. Using your K26 and Alumicutter ruler, cut the fabric.
Tip: Using your ruler while cutting the fabric will help guide you in a straight line.

Step 8: Grab your glue gun, fabric, and cardboard valance. Start to glue the fabric to your cardboard. Make sure you leave extra fabric on the ends to wrap around the edges, this is to ensure that the cardboard will not show.
Step 9: Once you have glued everything in place. Turn your valance over and glue the edges to the inside of the cardboard so they are not visible. Once it is dried you will have completed your window valance!

We loved the way this window valance turned out! Not only is this a quick DIY, it’s easy and can be customized to fit your style. We hope you enjoyed making this valance as much as we did!
Don't forget to show us how you DIY by tagging us on Instagram at excelblades and excelblades.co. Subscribe to our YouTube channel for more DIY projects and tips on our tools.