How To Decorate A Valentine Cookie - Excel Blades
Move over, Cupid! Valentine’s Day is just around the corner and, boy, do we have a treat for you! What better way to celebrate than with sweet sugar cookies decorated for your loved ones? There are a ton of different ways to decorate your heart-shaped cookies. Not only are hearts the easiest design to do, but they will always look classy and elegant. These cute, easy-frosted Valentine's cookies are sure to put a smile on anyone’s face and make them feel special.
It is very easy to decorate these cookies and it’s the perfect activity to do with your little ones, too! Just remember to make a few extra cookies to snack on while decorating them. To make these Valentine's cookies, all you need is royal icing, edible pearls, baked sugar cookies, food coloring and, most importantly, tools from Excel Blades’ Cake Collection. Don’t forget to add love!
Grab your dough and some milk, and let’s start making sweets for our sweeties!
How to Decorate Valentine’s Day Sugar Cookies with Royal Icing
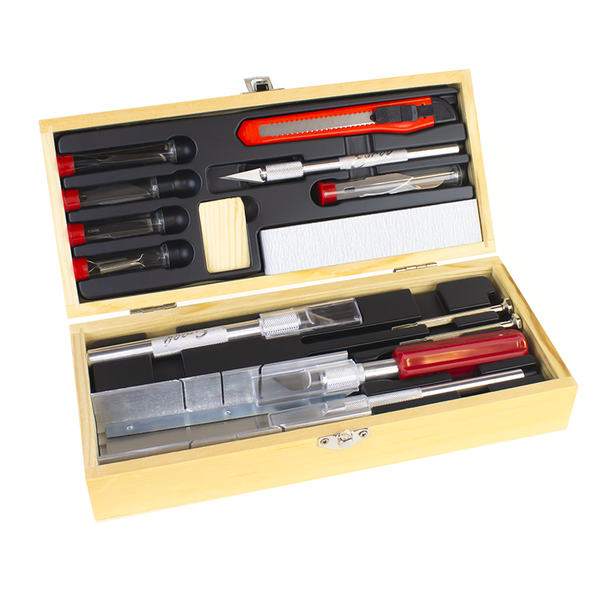
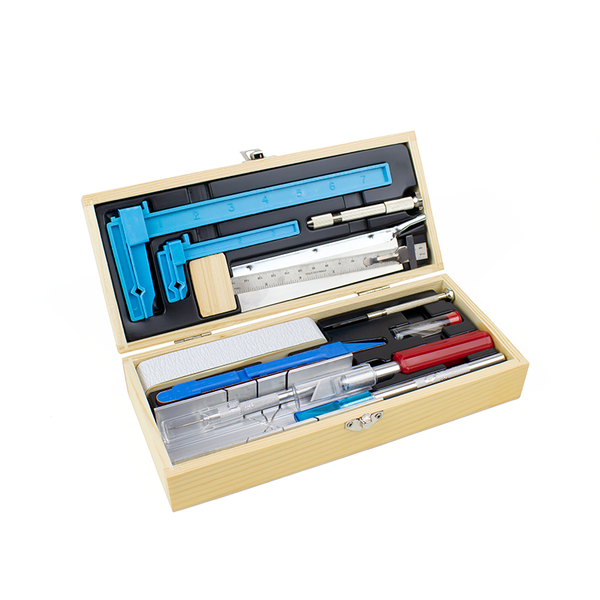
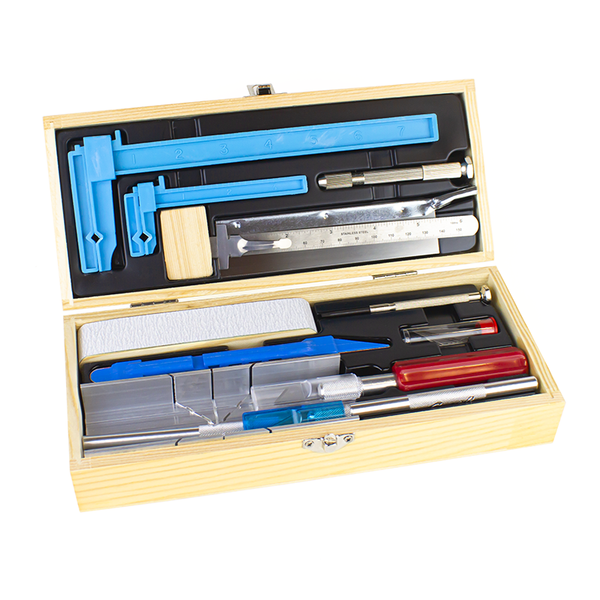
Materials
Excel Blades Embossing Tool with 4 Tips - #30605
Excel Blades Fixed Needle Point Scribe - #30604
Excel Blades Pounce Wheel Set - #30612
Excel Blades #21 Stainless Steel Blade - #20021
Excel Blades Pink K26 Fit Grip Knife - #16028
Excel Blades Red Hollow Point Tweezers - #30428
Excel Blades Red Slant Point Tweezers - #30426
Excel Blades Black 12” x 18” Self Healing Cutting Mat - #60062
Thin Royal Icing
Thick Royal Icing
Food Coloring
Edible Pearl Beads, Sprinkles and Edible Glitter
Parchment Paper
Cookie Dough (store-bought or use your favorite sugar cookie recipe)

Step 1: Roll out your dough. Then, grab your K26 Fit Grip Knife and cut out a heart. Trace over any cuts you have already made.


Step 5: Once the thick icing outline is dry, grab your thin royal icing. Using your K26 Fit Grip, once again, cut a small hole in the corner of the bag and flood the center of the cookie with the icing. Be sure to put a decent amount of icing on the cookie for optimal coverage.
Tip: After flooding the cookie with icing, tap it gently on the counter. This helps the icing settle evenly.
Step 6: Next, grab your fixed needlepoint awl and evenly distribute the wet icing within the cookie. Continue to do this until the entire cookie is covered with icing. Then, let the icing dry.
Tip: Doing this with your needle point awl rather than a toothpick will help release any air bubbles in the icing without leaving frayed pieces of wood.

Step 7: Using your slant point tweezers, grab the edible pearls and decorate your cookie however you would like. We decided to outline the cookie first and then fill it in with more beads. You could also scatter sprinkles or edible glitter around the edges of the cookie.
Alternatively, fill another piping bag with thin royal icing in a contrasting color and use your K26 Fit Grip to cut a hole half the size of the original. Applying even pressure to the bag, decorate your cookie with polka dots.
Tip: Use your hollow point tweezers to place more than one bead at a time. The hollow body holds beads inside while you work.

Let’s decorate another cookie!
Step 8: On a cookie that has already been flooded with icing, grab a pounce wheel and make lines across the cookie diagonally. Try to space out the lines as evenly as possible.
Tip: Use a popsicle stick to space your lines out evenly. A standard ruler is too thick and will compress any lines you make.
Step 9: Now, create lines perpendicular to the ones you just made. This will create a stunning quilted pattern.

Step 10: Grab your slant point tweezers and place beads where the lines cross. Double-check the cookie to make sure you put a bead at each point before it completely dries.

You have finished decorating your heart cookies!

Not only is this DIY super easy, but it is also the perfect treat for the ones you love! Have fun and mix colors, use sprinkles or just draw on your cookies. The possibilities are endless when you get to create your own designs.
We hope you enjoyed decorating your Valentine's heart cookies as much as we did!
Don't forget to show us how you DIY by tagging us on Instagram at excelblades and excelblades.co. Subscribe to our YouTube channel for more DIY projects and tips on our tools.