Linoleum Stamp Carving Tutorial
Stamps are a great and easy way to add a beautiful artistic design to your work. Whether you are scrap booking, making a card, or just want to add some flair to your clothes, lino cutting is a fun and simple way to do it! You don’t have to be a stamp maker to create a rubber stamp. All you need is a design that you printed (or drew), a lead pencil, lino (linoleum /rubber), and a carving knife with gouges and blades. This short tutorial will have you creating stamps for all your crafts!
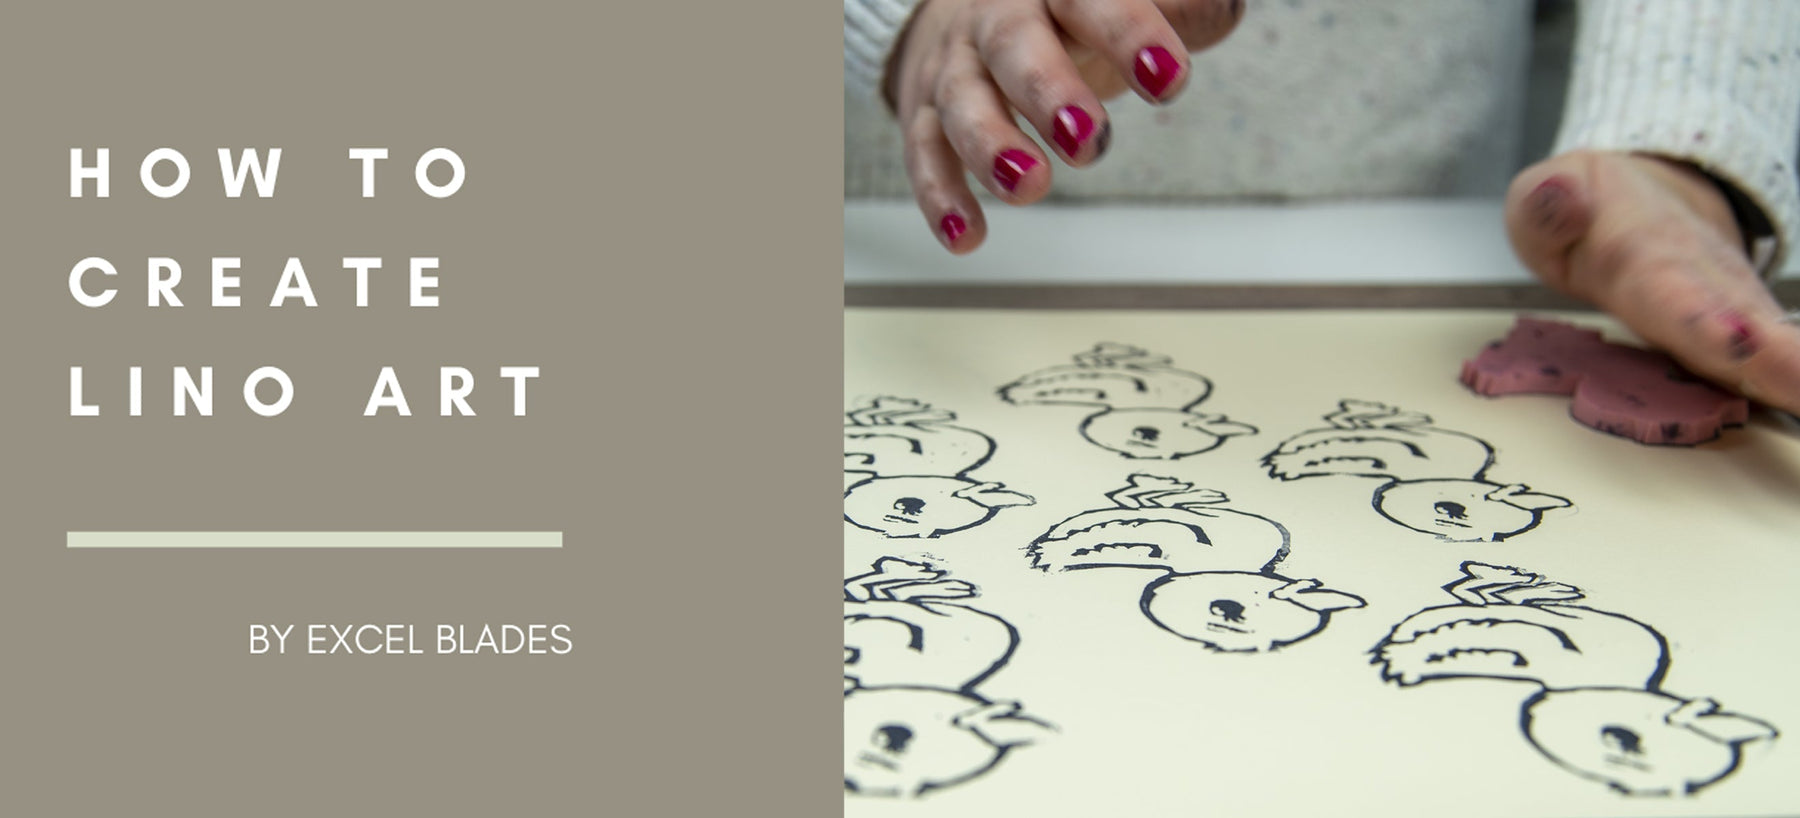
This duck stamp is super easy to make and will have you saying! With a little supervision, you can enjoy this project with your kids and make a whole farm of animals. Stamp printing is a great way to make unique, one of a kind artwork for any occasion. With just a few tools and your imagination, you’ll have everyone thinking you are a professional stamp maker. Grab that drawing you love so much, a pencil, your Excel Blades carving tools, and some ink to create a lino print you can enjoy!

Linoleum (rubber for stamp making)
Lead Pencil
Artwork
Sharpie (to help distinguish what you’ll carve out)

Step 1: Print out the artwork you would like to make a stamp out of. Grab a lead pencil and trace over the artwork.
Tip: a number 2 pencil works best for this process
![]()
Step 2: Once you’ve traced over your artwork, place the paper on top of the rubber and press down to transfer the image. Once you have placed the paper down you cannot move it. If you move it, the image will come out blurred and you will have to repeat this process on the opposite side of the rubber.
Step 3: Retrace over the lines you transferred onto the rubber. You can use a pencil or a sharpie for this part.
Tip: you can even color in the parts you either want to carve or do not want to carve to help guide you when you start creating your stamp

Step 4: Grab your K7 Carving knife and insert the small “U’ gouge in the 2-jaw aluminum chuck. Start carving out the “dead” space you want out of your stamp!
Tip: Anything you do not want to show up on the paper, canvas, ect. Will be what you carve. You can use any of our 6 gouges for this process. For this stamp we started off with our small “u” gouge to take out the larger parts of the linoleum and then went back with our small “v” gouge to take out the rubber in the smaller/tighter spots of the linoleum.
Step 5: Next, grab your K7 Carving Knife and insert the #101 straight edge blade in the 2-jaw aluminum chuck, cut the excess rubber around your artwork. You want to take this off so that when you are ready to stamp your artwork, you won’t have a square box around it.

Step 6: Once you have cut all of the excess rubber from the outline of your stamp, with your K7 knife and #101 blade, trim the edges to ensure they are as close to the outline as possible so they do not transfer on to your material when stamping the artwork.
Tip: When you are carving out the outline of the artwork/stamp (excess rubber) hold the rubber as if it was an apple and you were taking of the peel.

Step 7: Finally, take the ink color of your choice and transfer the ink from the stamp to the material you would like to use it on. Press down on the stamp, without moving it, and transfer the image to the material. You have now made your stamp!
Tip: Be careful to not move the stamp when transferring the image to the material so it does not come out blurred.
We hope you enjoyed duck art stamp as much as we did! Don't forget to show us how you DIY by tagging us on Instagram at excelblades and excelblades.co. Subscribe to our YouTube channel for more DIY projects and tips on our tools.