DIY Leather Woven Storage Basket by ClubCrafted
I'm proud to say we've made a lot of progress in our apartment. After only two months, we're already more "moved in" than we were in our last place. Now that we've hung some artwork and filled it with furniture, it's nice to focus on the fun little pieces and put the big projects behind us. Because I'm a hoarder but I also hate clutter, I have lots of catch-all dishes and baskets around the house, but we needed something cute for our entryway table to catch our keys, sunglasses, etc, so I worked with Excel Blades to try out their dual flex cutting tool and make a leather woven storage basket to fill that void.
I had tons of this fun yellow faux leather from my taco headphone holder project, and I'll take any opportunity to infuse a little more color into our decor!

This project definitely takes a bit more thought because you have to be sure that you've weaving everything properly and all of the pieces are even, but having a dual blade cutter is extremely helpful to ensure that each strip you cut is the same size.

Time: 40 minutes
Supplies:
- Faux leather, about 1/2 yard
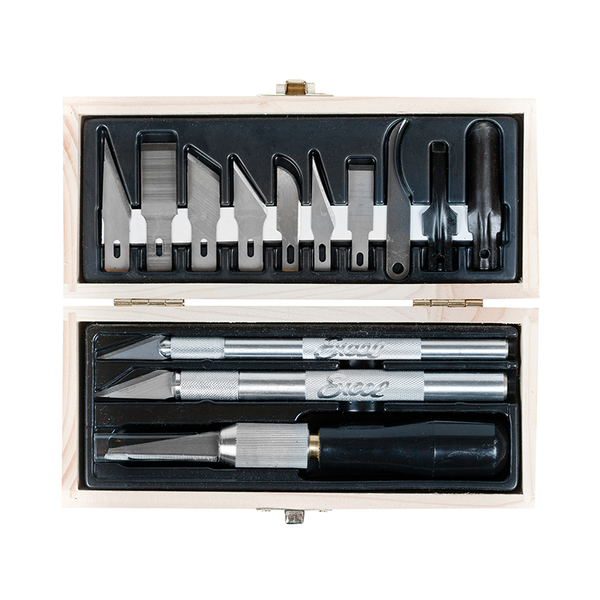
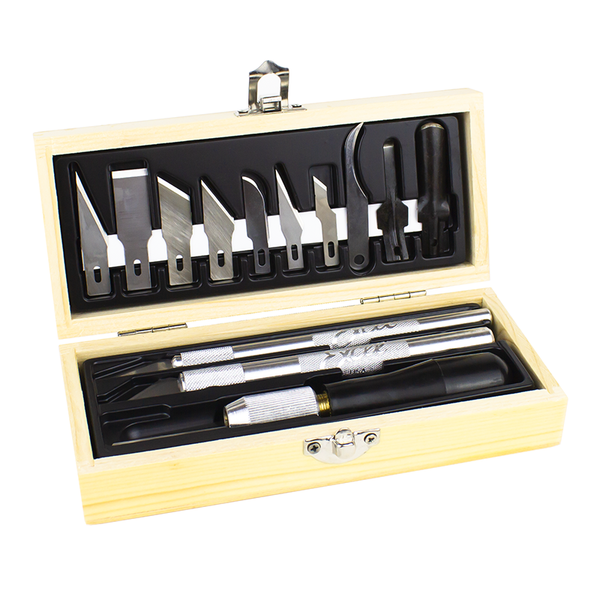
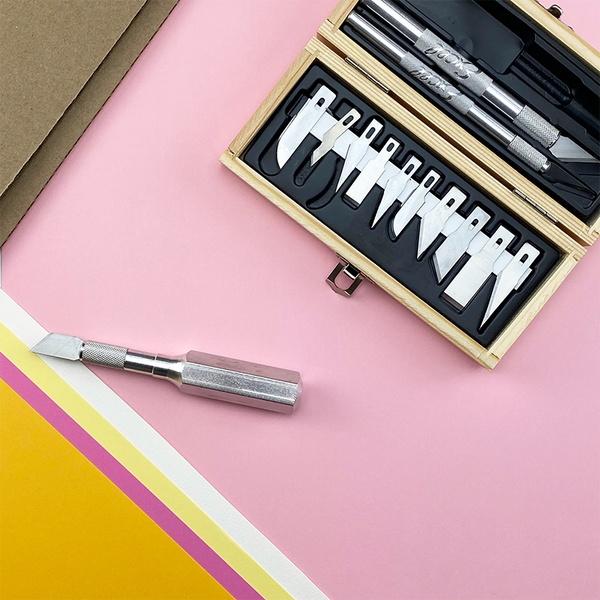
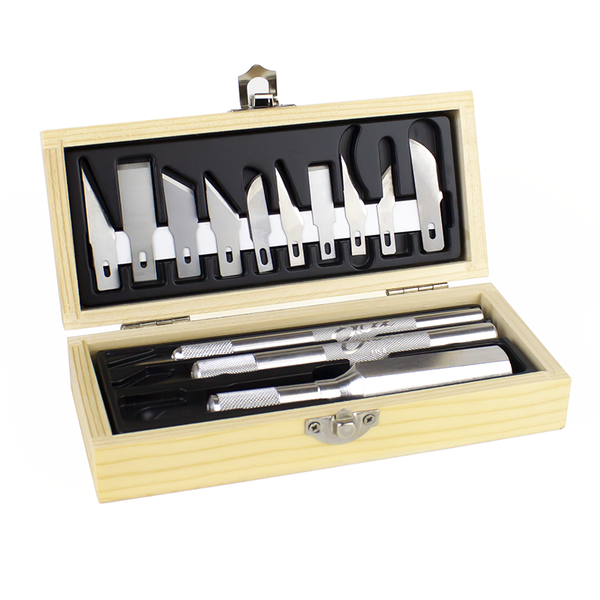
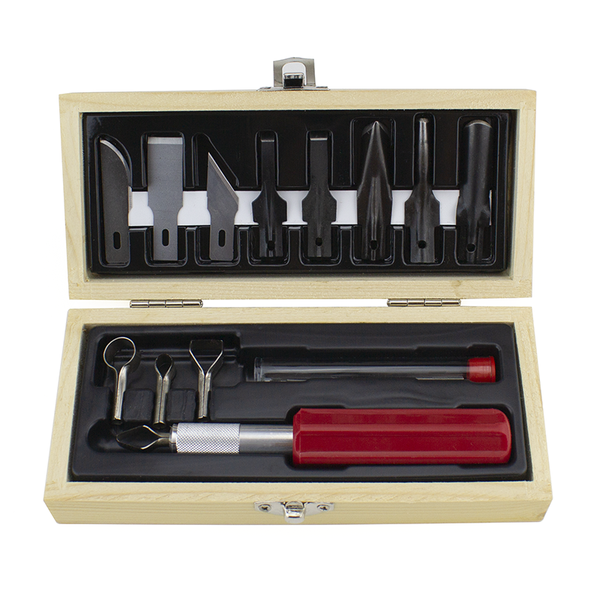
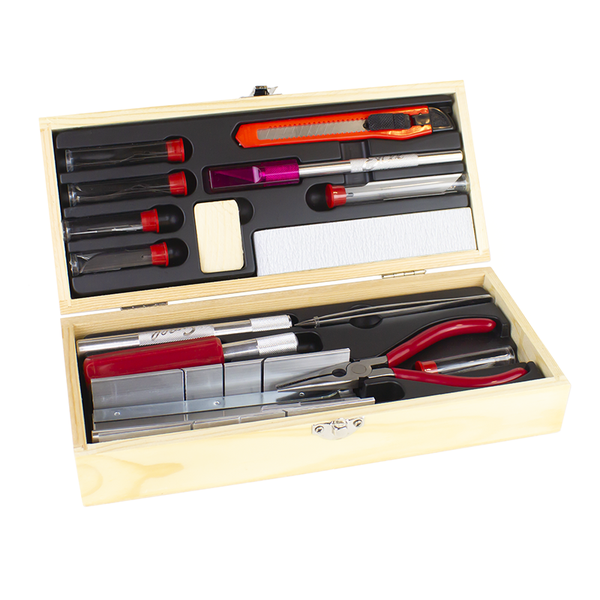
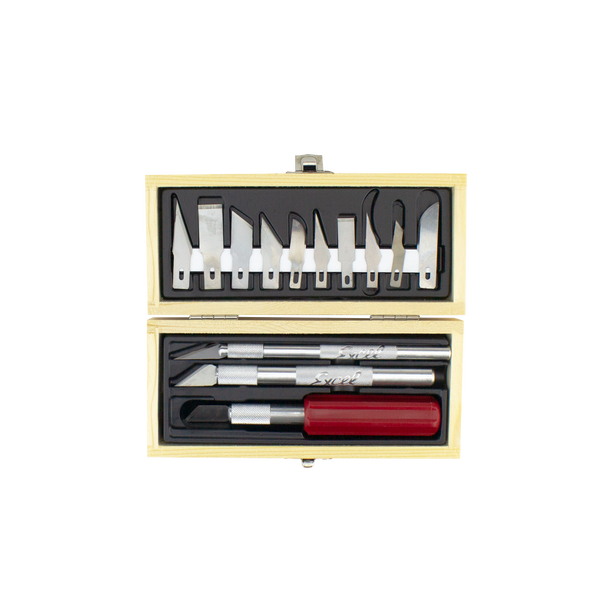
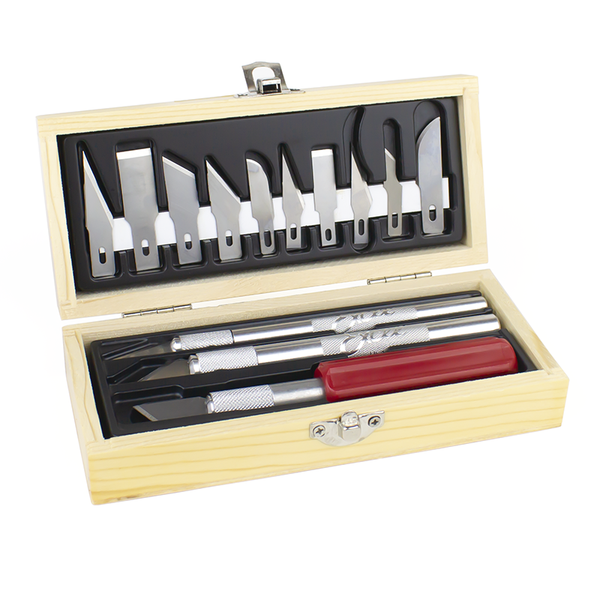
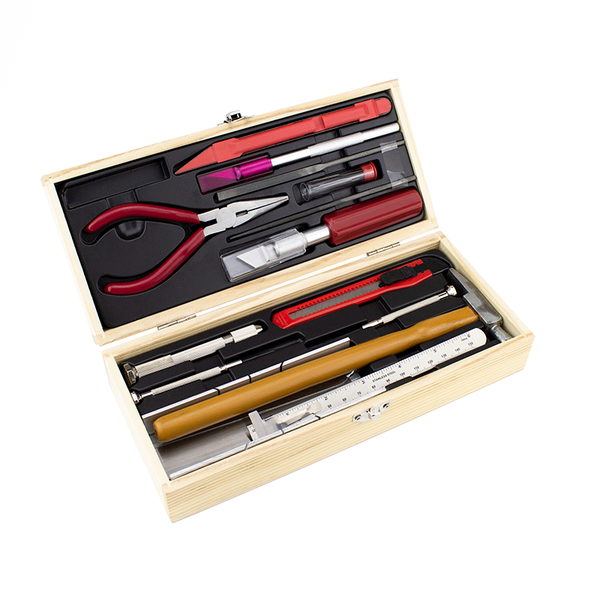
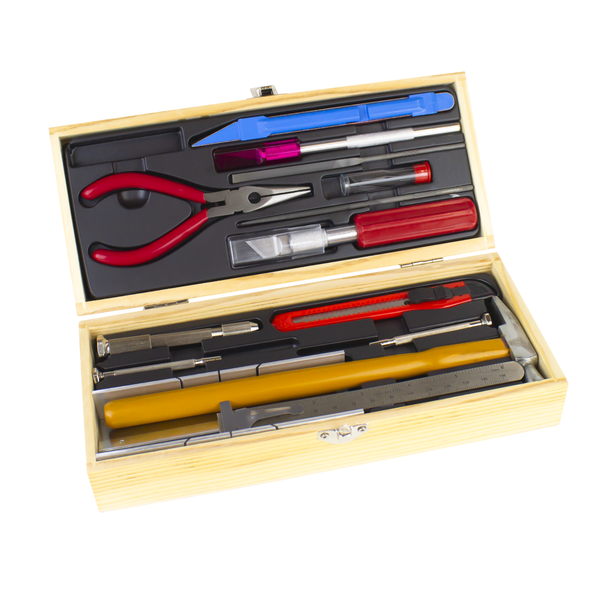
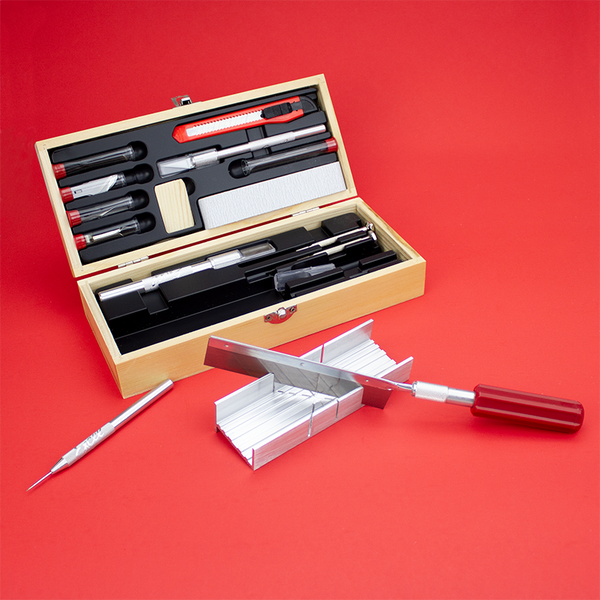
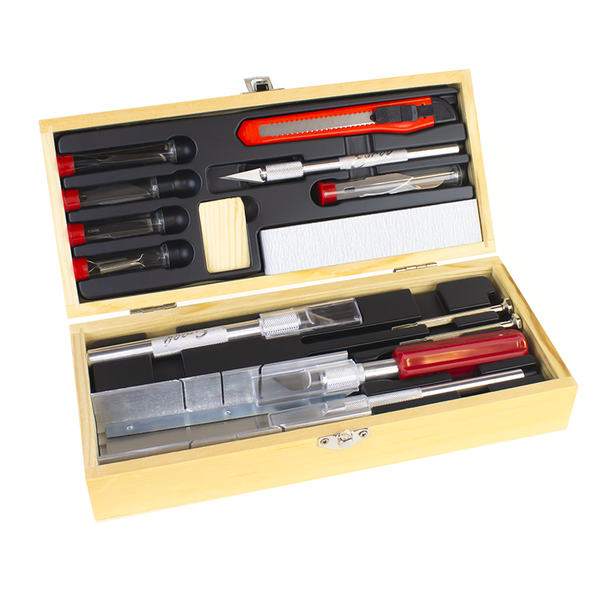
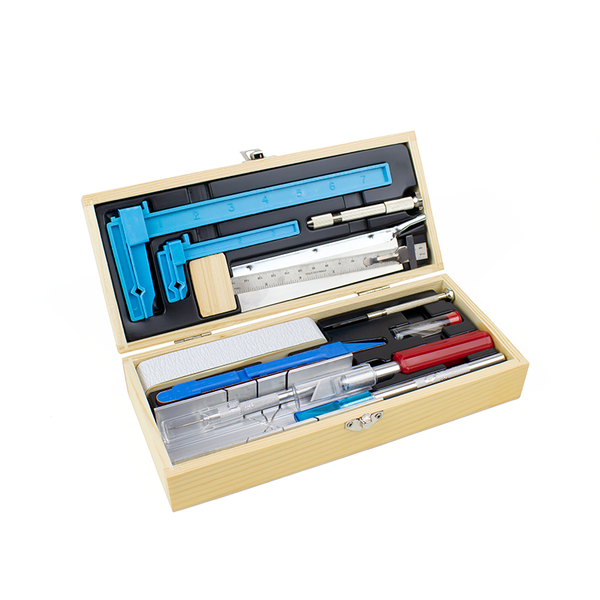
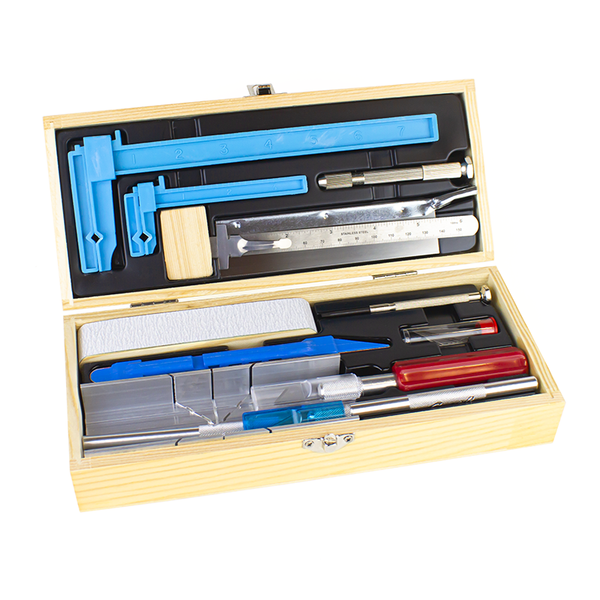
- Excel Blades dual cutting tool
- Excel Blades cutting mat
- Scissors
- Glue gun and glue sticks (not pictured)
- Clothespins, optional
*Note, this tutorial is only for a 5-inch wide basket. Adjust measurements as needed to make different sizes.

Step 1: Adjust the dual cutting tool to a wide setting, about .75 inch. Lay the faux leather fabric flat on the cutting mat and cut about 18 equal-sized strips that are about .75 inch x 18 inches. This will make a basket about 5 inches wide and 4 inches tall.

Step 2: On a large flat surface, lay 7 strips of leather right next to each other. Take an additional 7 strips and weave them through these pieces, alternating each strip and pushing all strips very close together so there is minimal space between each one. This will be the base of the basket.

Step 3: Starting along one of the corners, weave another strip. Then turn it to continue weaving around all four corners. Pull edges taught so that the basket begins to take shape and glue the two ends of the strip together with the glue gun. With these measurements, an 18-inch strip should wrap all the way around.
At this point, the basket will not be able to stand up well on it's down, but there should not be spaces in between the weave. If it is difficult to hold, use clothespins or similar clips to keep the strips together and upright.
Step 4: Continue with 3-4 more strips around the outside of the basket until it is about 4 inches tall.

Step 5: You will have excess leather sticking out from the top. Trim all pieces to about 1 inch and fold over, gluing down on the inside of the basket so that the outside looks clean and finished.

Step 6: Use a standard single blade or a pair of scissors to cut a strip of leather that is about 1.25 inches wide and 18 inches long. Fold in half lengthwise and glue together. Lastly, glue this strip around the top inside of the basket with the folded edge facing up, making sure the edges line up with all other strips. This piece should hide any imperfections from the folded woven pieces.
Just remove any glue strings and start storing!

I've been using this to catch my keys and other items that I usually throw on the table when I walk in the door, and it's definitely a prettier way to store my messes!
Thank you to Excel Blades for sponsoring this post. All opinions are my own. Thanks for supporting the brands that keep Club Crafted making!